
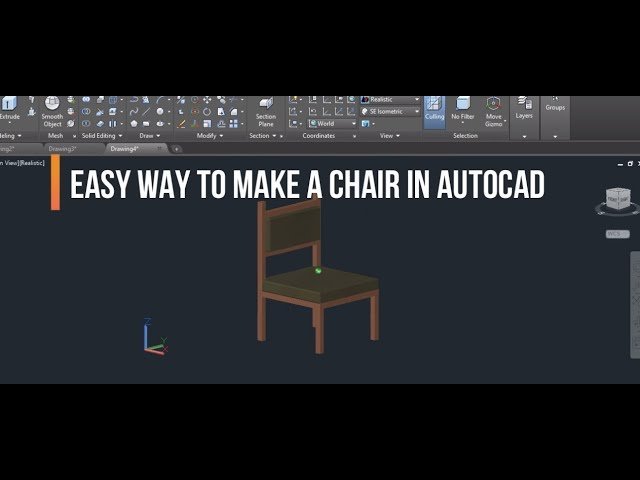
Creating a 3D model involves several hours of work, depending on your familiarity with the software, and you can use standard geometric primitives to make a chair in autocad. This task is medium-difficulty for most users. You must have a licensed version of the software installed on your computer before beginning.
Key AutoCAD tools to make your chair
You need the following items prepared to ensure your workflow remains efficient. If you’re using a version earlier than 2020, some ribbon commands might be located in different tabs.
| Item | How much | Why it’s needed | A substitute |
|---|---|---|---|
| Workstation | 1 unit | Required to run the software | none — don’t swap this |
| Mouse | 1 unit | Precision selection and orbit | Trackpad (less precise) |
| Reference image | 1 image | Visual guide for proportions | Mental sketch |
| Software license | 1 active seat | Legal access to tools | Educational free version |
| Workspace | 1 desk | Comfort during long sessions | none — don’t swap this |
Preparation before modeling
- Close all unnecessary background applications to free up system memory.
- Set your workspace to the “3D Modeling” ribbon layout using the gear icon.
- Ensure your “Object Snap” (OSNAP) settings are active for endpoints and midpoints.
- Save your file as a .dwg format in a dedicated folder before you start.
- Most users forget to set their units, which causes scaling errors later; check your units by typing “UNITS” in the command bar to confirm your precision.
Steps to build your model
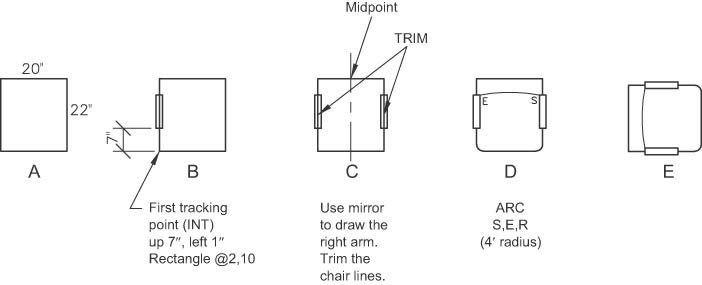
- Type “BOX” in the command line and click a starting point to create the seat base, entering 20 inches by 20 inches by 2 inches.
- Use the “BOX” command again to draw four legs, each 2 inches by 2 inches, starting from the corners of your seat base.
- Extrude the legs upward by 18 inches by selecting the top face of each box and dragging it along the Z-axis using the gizmo.
- Create the backrest by drawing a rectangle on the top surface of the seat, 20 inches wide and 2 inches deep.
- Extrude this backrest rectangle upward by 24 inches to match standard ergonomic heights for office furniture, as recommended by ANSI/BIFMA furniture standards.
- Use the “FILLETEDGE” command to round the sharp corners of the seat and backrest, setting a radius of 0.5 inches for comfort.
- Type “UNION” and select all parts of your chair to merge them into a single solid 3D object for cleaner geometry.
- Switch your view to “Conceptual” in the top-left corner of the viewport to see the solid shading of your finished chair.
How to verify your model
Check your chair by rotating the view using the “SHIFT” key and your mouse middle button to ensure no gaps exist between the legs and the seat. If you see lines passing through the middle of the solid, the “UNION” command didn’t fully merge the objects. In this case, perform the union again, ensuring you select every individual part. If the chair looks too thin or thick, use the “PRESSPULL” tool to adjust the depth of any face by clicking and dragging it to your desired measurement.
Troubleshooting common errors
| What happened | Why | What to do |
|---|---|---|
| Objects are hollow | Surface mode active | Convert to solid |
| Can’t select edges | View is too far | Zoom into the object |
| Model looks jagged | Resolution setting low | Type FACETRES and set 10 |
| Gizmo is missing | Gizmo hidden | Press Ctrl+Shift+W |
| Command not found | Incorrect spelling | Check the command bar |
Modeling frequency and maintenance
You should update your model whenever your design requirements change. Two things that change the frequency of this work are the complexity of the chair design and the specific ergonomic standards required for your project. If you’re creating a simple stool, the process is fast; for an office chair with armrests and reclining mechanisms, expect the time required to double or triple. Always refer to your project documentation to verify the exact dimensions needed for your specific furniture class.
Frequently asked questions
Can i export my chair to other software?
You can export your chair by selecting the file menu, choosing “Export,” and selecting a format like .STL or .FBX to ensure compatibility with other 3D rendering or printing software programs.
Why is my chair model floating?
Your chair is floating because the bottom faces of the legs aren’t aligned with the Z=0 coordinate plane, so select the legs and move them down to the base grid.
How long does it take to render?
Rendering time depends on your computer’s GPU power and the complexity of the material textures, but a simple chair model usually renders in under 2 minutes on a standard office workstation.
Is it safe to use 3d models for manufacturing?
It’s safe to use these models for manufacturing only after you have verified the dimensions against ISO 7173 standards for furniture strength and stability requirements.
What happens if i delete a face?
Deleting a face creates a hole in your solid, which makes it a surface, so use the “CAP” command or redraw the missing face to maintain a solid object.
Does it matter if i use layers?
It matters because using layers allows you to isolate the seat from the legs, making it much easier to move or edit specific parts without affecting the rest of the model.
How do i change the chair color?
Change the color by selecting the object, opening the properties palette with “PR”, and choosing a new color from the list to visualize different material finishes for your design.
Conclusion
If you find that the model is too complex to manage, try breaking the chair into smaller blocks and inserting them as separate components. This modular approach saves time when you need to change the height of the legs or the width of the backrest without rebuilding the entire structure from scratch.