
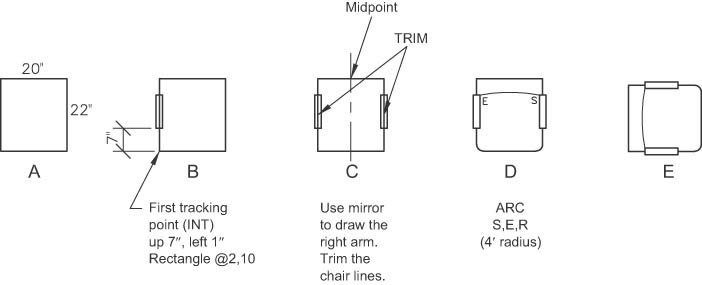
To create a basic 2D representation, you can use the line, rectangle, and offset commands to draw a chair in autocad by building a standard orthographic view.
Drawing the chair structure in AutoCAD
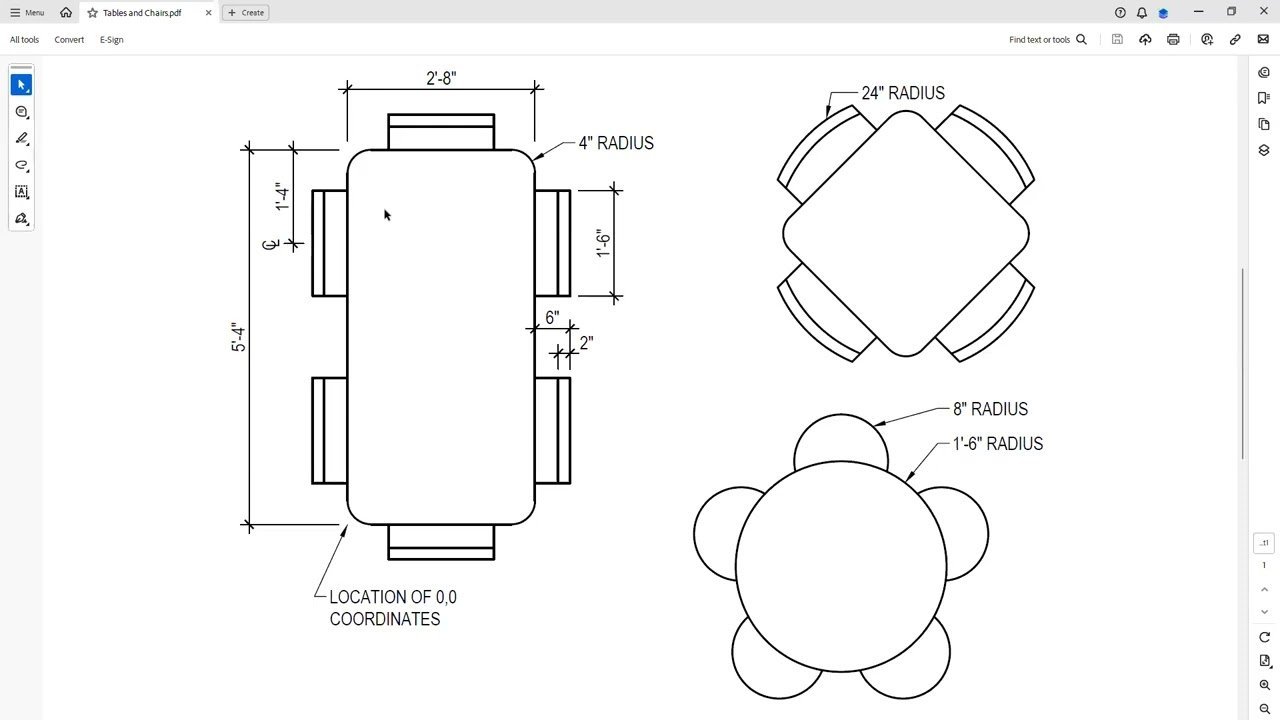
A chair drawing is typically a simplified 2D profile used for space planning in architectural or interior design. It isn’t an artistic illustration but a technical symbol that must fit standard ergonomic dimensions to be useful. The most common mistake is drawing a chair too large or small for a room layout. If you’re drafting for commercial office space, use the dimensions recommended by the American National Standards Institute to ensure your furniture footprint reflects real-world requirements. This assumes you’re working in a 1:1 scale; if you’re working in a different unit system, always verify your base units before starting.
Drafting the furniture outline
Follow these steps to build your symbol from the ground up using precise measurements.
- Start by typing
RECand pressing Enter to select the Rectangle tool. Click your start point and enter@20,20to create a 20×20 inch seat base. - Use the
OFFSETcommand by typingOand entering a distance of 2 inches to create the inner frame of the seat. - Draw the backrest by selecting the
PLINEcommand. Click the top-rear corners of your seat and drag your cursor up 18 inches to create the height. - Use the
MIRRORcommand by typingMIto duplicate the backrest supports if you’re drawing a chair with individual armrests. - Apply the
FILLETcommand with a radius of 1 inch to round off the sharp corners of the seat for a more realistic appearance. - Select all your lines and type
BLOCKto save the chair as a single object, which allows you to move it easily around your floor plan.
The secret to a clean drawing is keeping your lines on a specific “Furniture” layer so you can toggle visibility off when you need to focus on structural walls.
Essential dimensions and settings
| Situation | Command to use | Typical size | Watch for |
|---|---|---|---|
| Seat width | Rectangle | 18–22 inches | Clearance space |
| Back height | Polyline | 16–20 inches | Overlap with tables |
| Armrest width | Offset | 2–3 inches | Total chair width |
| Corner finish | Fillet | 0.5–1.5 inch | Too much rounding |
Achieving high-quality results
Experienced drafters always prioritize consistency over detail. You don’t need to draw every screw or cushion texture; in fact, adding too much detail makes a floor plan look cluttered and slows down your software performance. Instead, use simple, clean lines that clearly define the boundary of the chair.
Always check your object snaps before you begin. If your “Endpoint” or “Midpoint” snaps are off, your lines won’t meet correctly, which causes issues later when you try to use the HATCH command to fill the seat color. If you’re drawing a complex chair, work in a separate file first, then copy the finished block into your master project. This keeps your main file size small and makes it easy to update the design later.
Troubleshooting common errors
| What you notice | What it usually means | What to do first |
|---|---|---|
| Lines won’t join | Open gaps at corners | Use the JOIN command |
| Object is too small | Unit mismatch | Check UNITS settings |
| Can’t select part | It’s a block | Use EXPLODE to edit |
| Hatch fills incorrectly | Boundary isn’t closed | Check corners for gaps |
Essential drafting rules
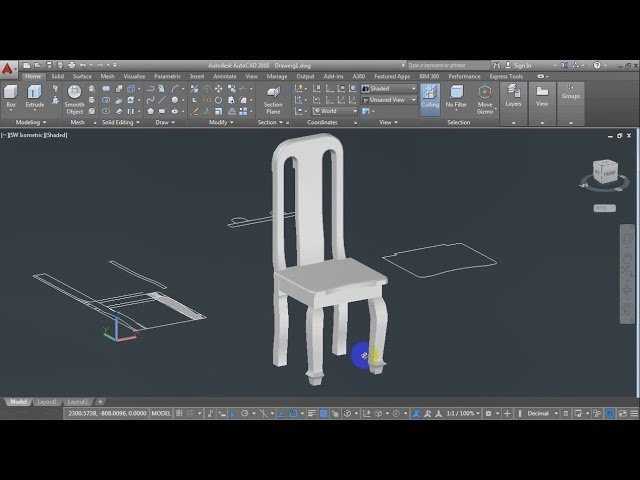
Professional drafting requires adherence to specific standards to ensure files remain shareable. When working in a team, always place your objects on a standardized layer set. Never draw using the “0” layer for furniture, as this causes display issues when you change your global layer properties. If you’re working in an environment with strict CAD standards, check your company’s internal CAD manual before finalizing your blocks. If you find yourself needing to draw complex 3D furniture, stop using 2D lines and switch to the EXTRUDE and REVOLVE tools to create solid models instead.
Maintaining your furniture library
Once you have created a chair you like, save it to a dedicated “Blocks” folder on your network. This saves hours of work on future projects. To keep it working well, purge unused layers and blocks regularly using the PURGE command. This removes hidden data that makes files heavy. If you notice the file slowing down, check your block for nested objects or excessive line segments that don’t contribute to the final look.
When to use alternatives
If your design requires a high-quality 3D visual or a realistic render, a 2D symbol won’t work. In these cases, you should use software like 3ds Max or Revit, which are built for complex modeling and realistic lighting. AutoCAD is excellent for 2D floor plans, but it isn’t the right tool for creating marketing-ready furniture visualizations. If you need to show clients how a chair looks in a room with light and shadow, export your plan to a rendering suite.
Frequently asked questions
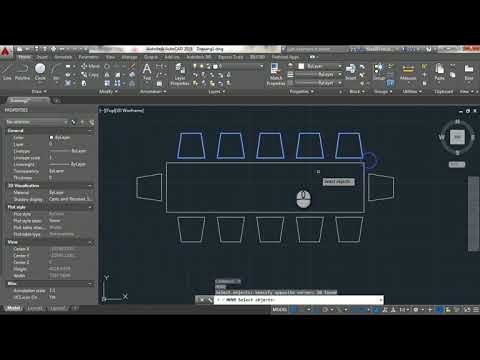
Can I download existing chair blocks?
Yes, you can download pre-made blocks from the official Autodesk website or manufacturer pages, which saves time compared to drawing them from scratch.
How long does it take to draw a chair?
It takes about 5 to 10 minutes for a standard 2D symbol, depending on your familiarity with the basic command shortcuts.
Is it safe to use 3D blocks in 2D files?
Yes, it’s safe, but it often makes your file run slower because 3D objects contain much more data than simple 2D lines.
What happens if I draw on the wrong layer?
You’ll struggle to hide or print your furniture independently from your walls, which makes your professional floor plans difficult to read.
How do I scale a chair block?
Type SCALE, select the chair, click a base point, and enter your desired factor to change the size of the block proportionally.
Conclusion
Once your design looks right, try adding a hatch pattern to give the seat some texture. It’s a simple way to make your drawing look more professional and realistic. Don’t be afraid to experiment with different styles, as you’ll get faster and more confident with every piece of furniture you create.