
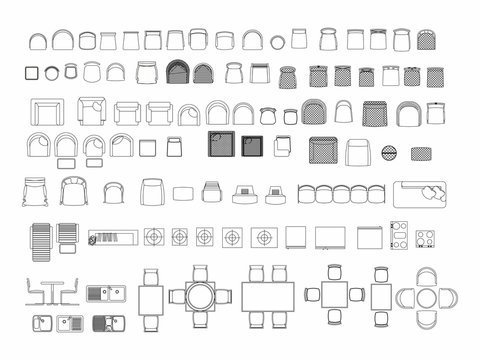
Sketch a square for the seat, add four smaller rectangles at the corners for the legs, and place a thin bar at the back for the rest to represent a chair from above. This technique suits beginners well.
Tools for your sketch
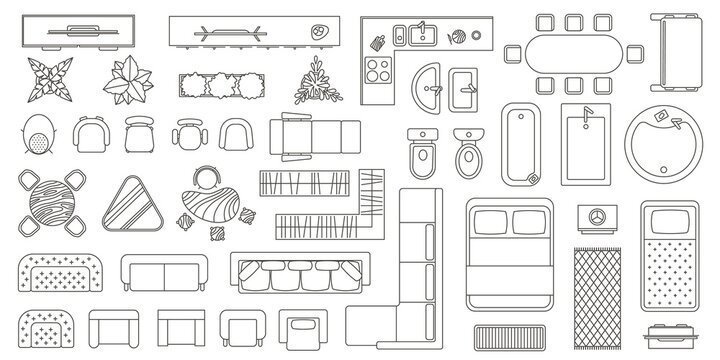
To get started, you’ll need a few simple supplies to ensure your lines are clean and your proportions remain accurate.
- A graphite pencil, preferably HB or 2B for smooth lines.
- A white vinyl eraser for clean corrections.
- A ruler for straight, consistent edges.
- A sheet of smooth, acid-free drawing paper.
- A mechanical pencil for finer details on the chair legs.
If you’re a beginner, a standard HB pencil works best. If you prefer darker, bolder lines, use a 2B pencil instead.
Drawing the chair from above
- Draw a square or rectangle in the center of your page to represent the seat of the chair.
- Sketch four small, identical squares or circles at the four corners of the seat to act as the legs.
- Add a thin, curved or straight rectangle along one edge of the seat to show the backrest.
- Erase any overlapping lines inside the seat area so the legs look like they’re underneath the chair.
- Refine the edges of the backrest by rounding the corners to give the chair a more natural, finished look.
- Check your alignment to ensure the legs are centered under the seat corners.
Tip: Use your ruler for the seat edges to keep them parallel. Careful: Don’t press too hard with your pencil early on, as heavy marks are difficult to remove if you need to adjust the chair’s width. According to the University of Arts London, consistent pressure is key to building a clean, professional drawing.
Situations and difficulty levels
Your approach changes based on the chair design you choose to draw. Starting with a simple stool is safer than attempting an ornate armchair on your first try.
| Design Type | Estimated Time | Complexity | Watch For |
|---|---|---|---|
| Simple Stool | 5 Minutes | Low | Leg alignment |
| Dining Chair | 10 Minutes | Medium | Backrest width |
| Office Chair | 15 Minutes | High | Armrest placement |
| Lounge Chair | 20 Minutes | High | Cushion curves |
It’s always better to start with a basic stool and add detail later than to overshoot the complexity on your first attempt.
Evaluating your finished sketch

A good result shows a clear, symmetrical shape where the legs align perfectly with the corners of the seat. If the legs look uneven or the seat appears distorted, you likely tilted your perspective rather than keeping it strictly from the top. This happens when the eye follows the depth of the room instead of staying flat above the object. To prevent this, hold your paper perfectly horizontal and look directly down at your work while you draw.
Professional standards and care
Professional illustrators often follow the rules of orthographic projection to ensure objects remain true to size. Once you finish your drawing, store it flat in a portfolio or a cool, dry place to prevent the paper from warping. If you plan to use this for professional architectural work, you may need training in technical drafting, which is handled by local design schools or accredited art institutions. Always keep your workspace clean of dust to ensure your pencil lead doesn’t smear across your finished work.
Alternative sketching methods
Freehand sketching
This method relies on your eyes rather than tools. It’s faster but often less precise. You can build speed by practicing small, quick sketches of different chairs found in your home.
Grid-based drawing
Use a light grid on your paper to keep the legs and seat proportional. This is ideal for complex chairs with many parts, as it keeps the geometry accurate from a top-down view.
Digital drafting
Use design software to draw perfect shapes. This allows you to undo mistakes instantly and move parts around, which is helpful if you’re designing a custom chair and need to test different layouts.
Frequently asked questions
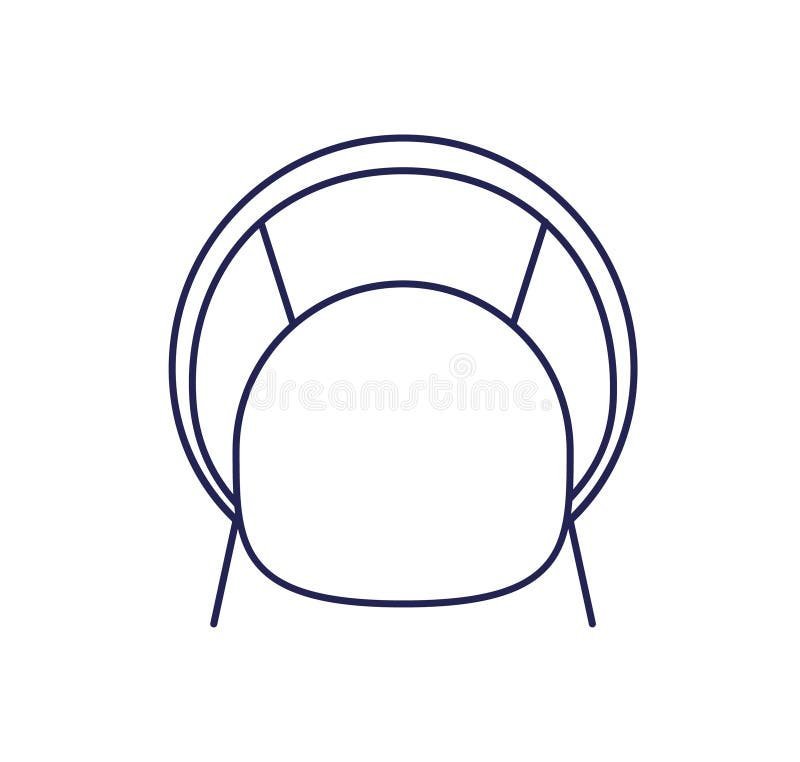
How long does it take to draw a chair from top view?
It takes about 5 to 10 minutes for a simple chair, assuming you have basic drawing supplies. More complex designs with armrests or cushions may take longer depending on your experience level with shading and detail.
Is it safe to use ink for the final lines?
Yes, it’s safe to use ink once you’re happy with your pencil sketch. Use a fine-liner pen, but wait for the pencil lines to settle before you erase the underlying marks to prevent smearing.
Why do my chair legs look uneven?
Your legs likely look uneven because your perspective shifted while drawing. Keep your hand steady and use a ruler to ensure each leg is placed exactly the same distance from the seat’s edge.
Can I draw an office chair from above?
Yes, you can draw an office chair, but you must account for the wheel base. Draw a larger circle or a star-shaped base underneath the seat to show the wheels clearly from your top-down view.
What if I make a mistake on the paper?
Use a soft vinyl eraser to lift graphite gently. Pressing too hard can break paper fibers, so use a light touch to remove marks without damaging the surface.
Conclusion
Once you feel comfortable with this simple shape, try sketching a round stool or a dining set with a table. It’s a great way to build your confidence with perspective. Don’t worry if your lines aren’t perfect yet; you’ll improve quickly as you keep practicing your drawing skills every day.
Related guides