
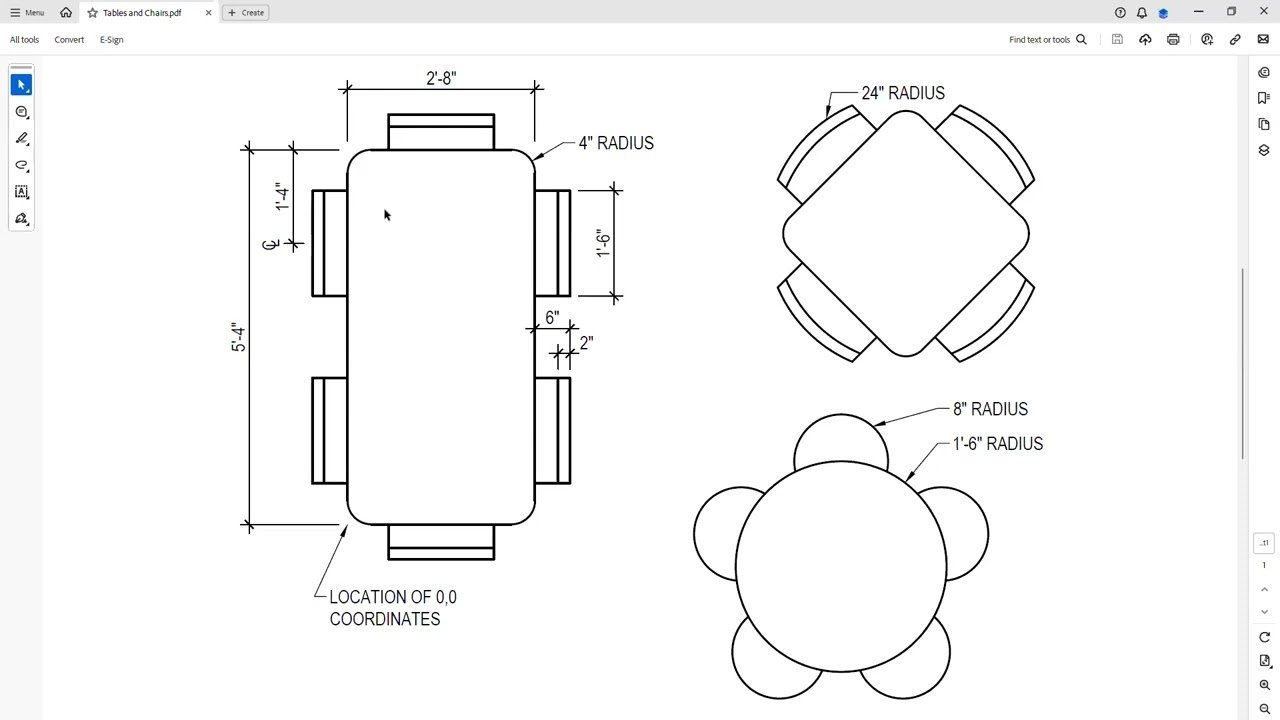
Drafting a basic furniture profile using CAD software takes about 30 to 45 minutes for a standard design, depending on your familiarity with coordinate systems. If you’re learning to design a chair in autocad 2d, you should expect a medium level of difficulty as you must manage precise geometric constraints and layer organization. You need a functioning installation of AutoCAD software to begin this project.
Autocad tools to make your chair
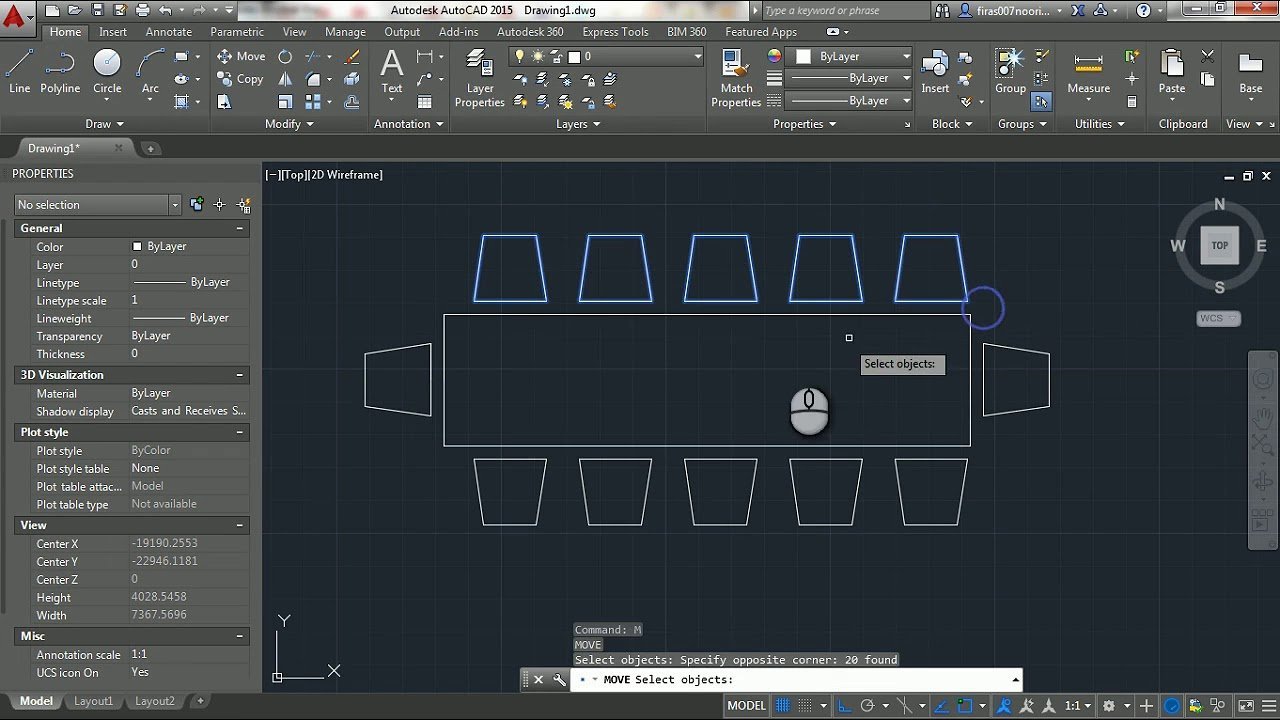
| Item | How much | Why it’s needed | A substitute |
|---|---|---|---|
| AutoCAD software | 1 license | To execute drawing commands | none — don’t swap this |
| Mouse | 1 unit | To select points accurately | Trackpad (less precise) |
| Ortho mode | 1 setting | To draw straight lines | Polar tracking |
| Object snaps | 4 standard | To connect geometry points | Manual input (harder) |
| Layer manager | 3 layers | To organize chair parts | None — don’t swap |
Preparation before you start
- Close all other intensive programs to prevent software lag during complex commands.
- Set your units to decimal or architectural based on your project requirements.
- Turn on the “Grid” and “Snap” features to ensure your lines connect at right angles.
- The most common mistake is failing to set the “Units” command properly, which leads to incorrect scaling; always check the Autodesk Knowledge Network for specific unit configuration guidelines.
- If you lack basic knowledge of drawing commands like “Line” or “Offset,” complete a standard software tutorial before attempting a specific furniture design.
Drawing the chair profile
- Open a new file and type “UNITS” to ensure your scale matches the project needs.
- Use the “LINE” command to create a rectangle 18 inches wide and 18 inches deep for the seat.
- Type “OFFSET” and enter 1 inch to create the thickness of the seat frame inside your rectangle.
- Draw a vertical line 36 inches high from the back corner to establish the chair back height.
- Use the “OFFSET” command again to create a 1-inch thick backrest connected to the rear seat frame.
- Draw four 16-inch vertical lines from the seat corners to represent the chair legs.
- Type “FILLET” with a radius of 0.5 inches to round the sharp edges of the backrest corners.
- Select all lines and group them using the “GROUP” command to keep the chair as one object.
- Save your work using “Ctrl+S” to ensure your progress is recorded in the current drawing folder.
Validating your technical drawing
Success is confirmed when all corners are closed and lines meet at exact intersection points without gaps. If your lines don’t align perfectly, zoom in to check for overlapping segments or small deviations from your intended dimensions. You can verify this by selecting a line and checking the “Properties” panel to confirm its length matches your design plan. If the geometry looks jagged or disconnected, you should use the “TRIM” or “EXTEND” tools to fix the intersections before finalizing the drawing.
Troubleshooting common drawing issues
| What happened | Why | What to do |
|---|---|---|
| Lines aren’t straight | Ortho mode is off | Turn on Ortho mode |
| Snapping fails | Object snaps off | Enable Endpoint and Intersection |
| Wrong scale | Units are incorrect | Use Scale command |
| Layer confusion | Objects on wrong layer | Change layer properties |
| Missing lines | Hidden layer | Turn on layer visibility |
Determining your drafting frequency
You should review and update your furniture templates as your design requirements change or your manufacturer updates their specifications. The interval for updating these files is typically determined by the complexity of the seating model and the specific tolerances required by your production team. If your chair dimensions change by more than 0.5 inches, you must manually adjust your base geometry to maintain the structural integrity of the final CAD file.
Frequently asked questions
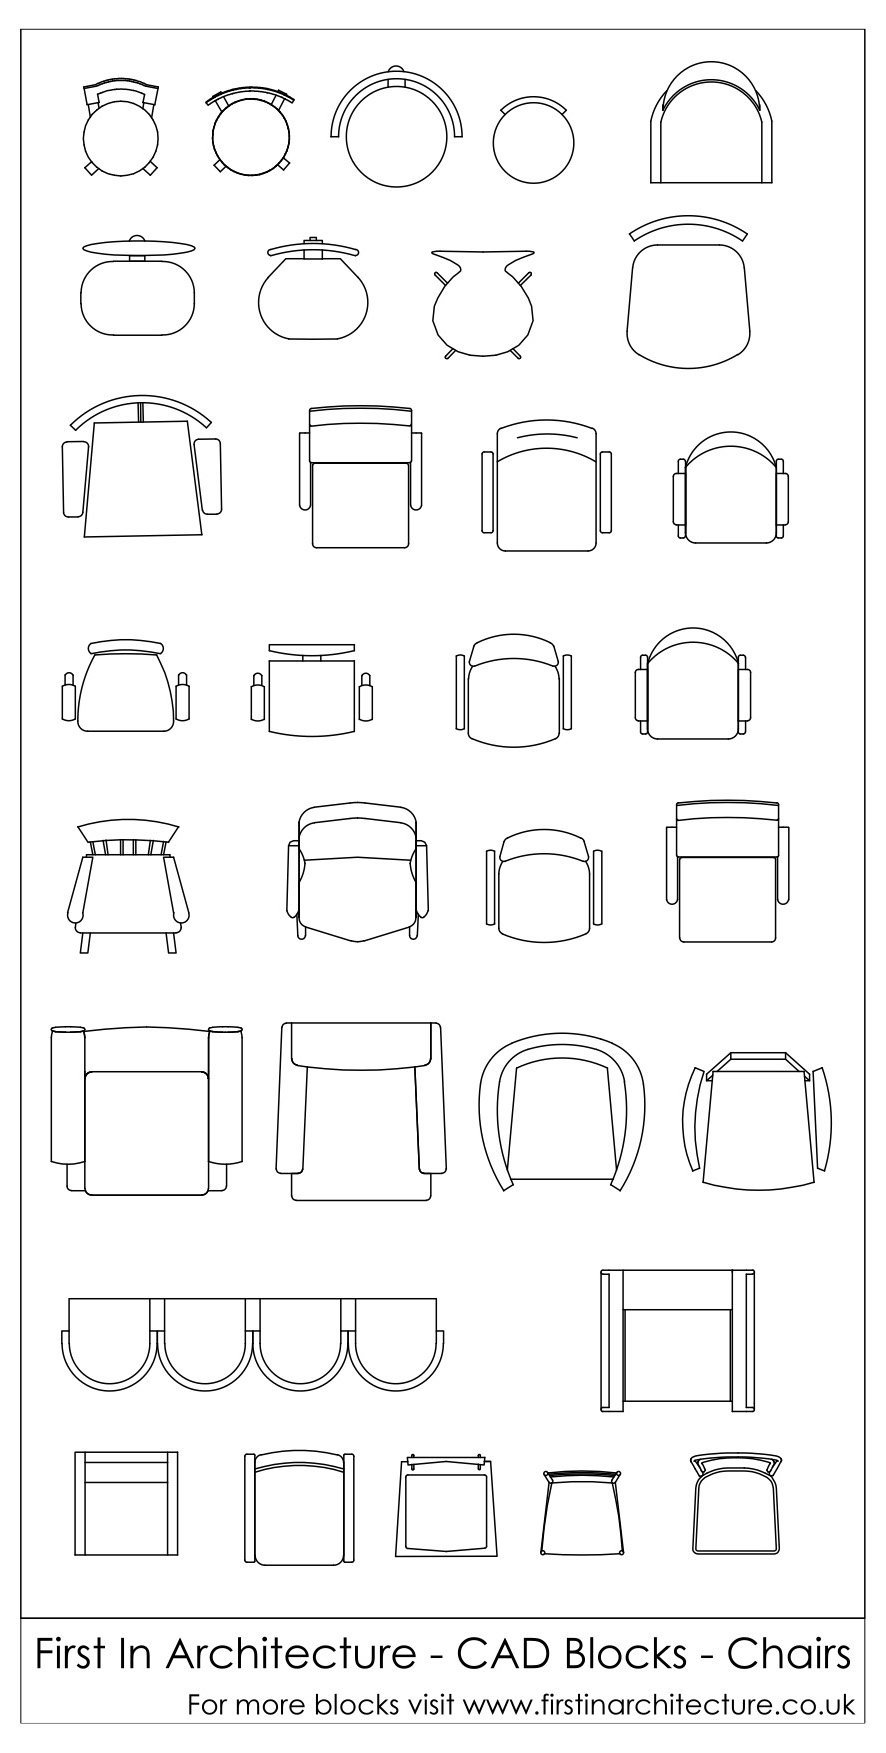
Can I draw a chair using only the line command?
You can create a basic chair using only the line command, but it’s inefficient for complex curves or repeated seat patterns. Using “OFFSET” and “FILLET” tools significantly reduces the time spent on manual adjustments.
Why do my lines look disconnected when I zoom in?
Your lines look disconnected because your Object Snaps aren’t active, causing points to miss their targets by small fractions. Always ensure the “Endpoint” and “Intersection” snaps are checked in your settings.
How long does it take to learn these commands?
It takes about 5 to 10 hours of practice to learn these commands, depending on your experience with coordinate-based software interfaces. You can track your progress by timing how long you take to draw a simple square.
Is it safe to draw furniture in 2d?
It’s safe to draw furniture in 2d as long as you don’t use your CAD files to calculate structural load-bearing requirements without professional engineering verification. Always follow local building codes for furniture safety.
What happens if I forget to save my work?
You’ll lose all progress since your last save point, as AutoCAD doesn’t always recover data after a crash. Use the “SAVE” command every 10 minutes to minimize the risk of data loss.
Does it matter which layer I use?
It matters which layer you use because organized layers allow you to hide or modify specific parts of the chair without affecting the rest of the drawing. Use separate layers for legs, seat, and back.
Conclusion
The process of creating furniture in 2d relies on your ability to use precise commands and maintain a clean, organized workspace. By following the steps above and verifying your measurements during the drafting phase, you ensure that your design remains accurate and ready for further development.
Related guides