
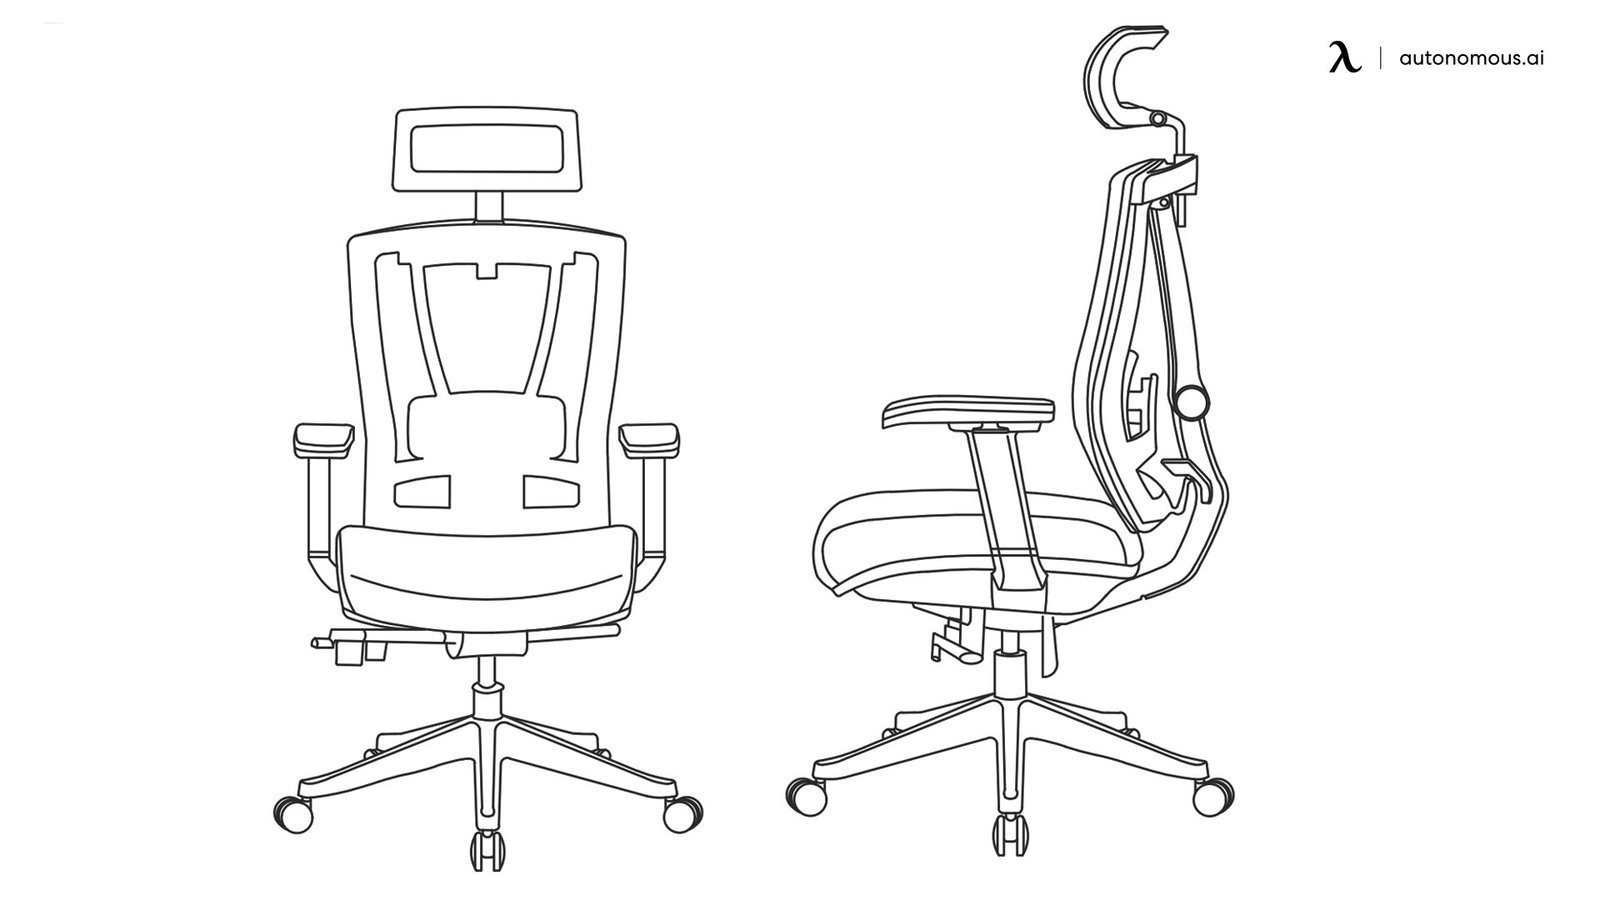
You can build an ergonomic chair by assembling an adjustable base, a lumbar-supporting backrest, and seat foam with a density of at least 2.5 pounds per cubic foot over 4 to 6 hours. Ergonomic chair components should be built to align with your spine’s natural curve to ensure long-term comfort. This project suits DIY enthusiasts who have basic wood or metalworking skills and access to a stable workspace.
How to build ergonomic chair: Supplies you need
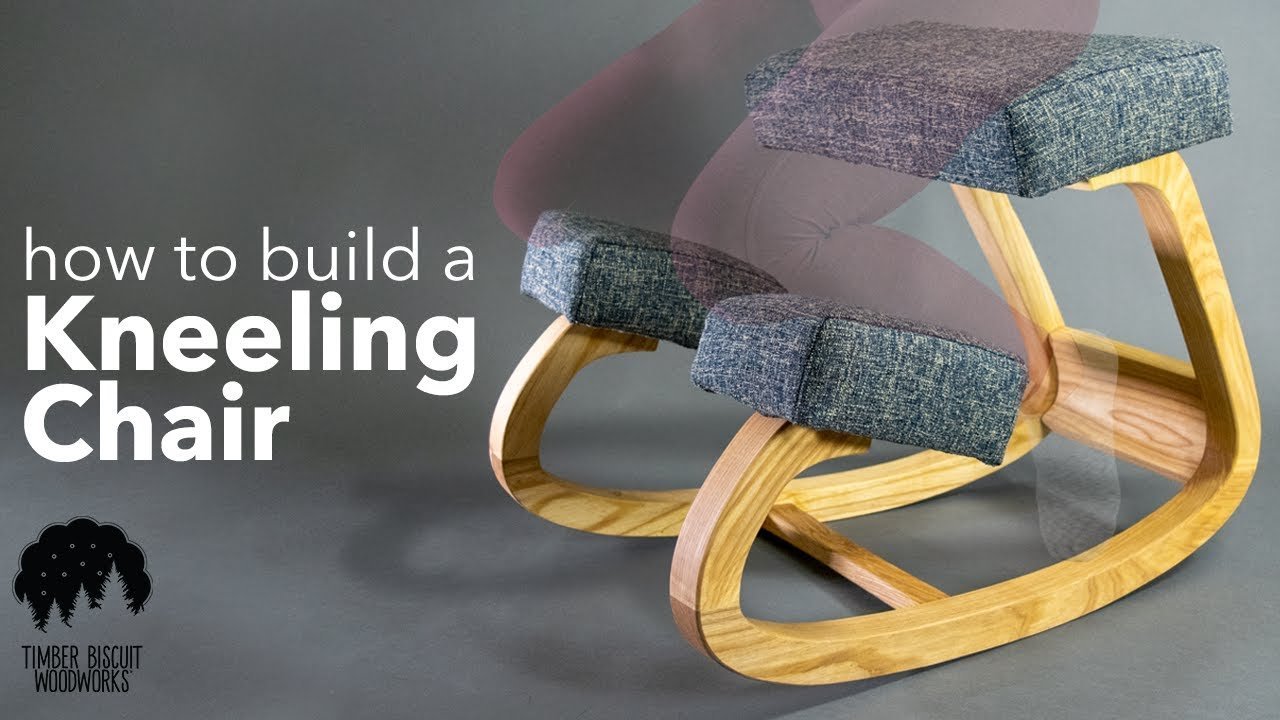
To begin your build, gather the following supplies. Using high-quality materials is vital for safety, as cheap fasteners often fail under repeated pressure.
- Heavy-duty pneumatic gas lift: Rated for your body weight.
- Five-point wheel base: Ensures stability and prevents tipping.
- High-density upholstery foam: 3-inch thickness for the seat.
- Hardwood or steel frame: For the core structure.
- Adjustable armrest brackets: Must lock securely into place.
- Upholstery fabric: Choose breathable, wear-resistant material.
- Power drill and wood screws: For secure assembly.
If you substitute foam for cheaper, low-density padding, the seat will flatten within weeks. Check ANSI/BIFMA X5.1 for safety testing guidance. If you lack welding skills, buy a pre-made steel frame.
Building Your Custom Seat
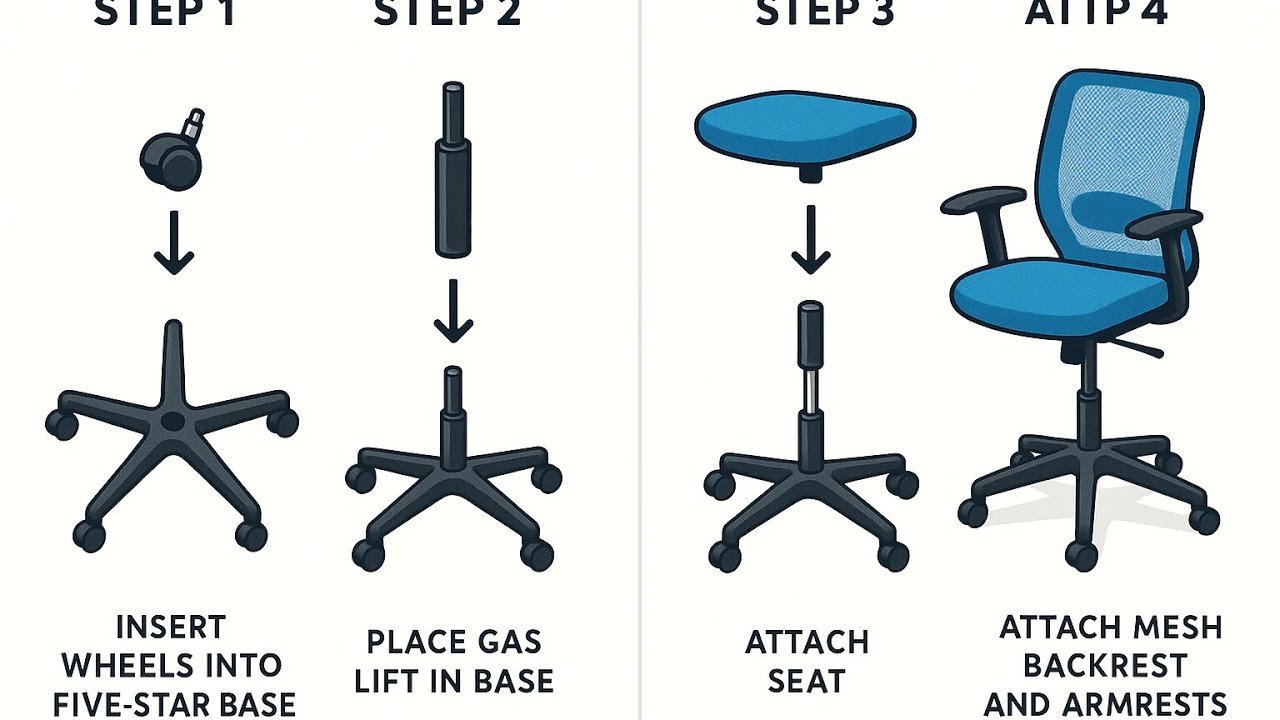
- Construct the seat base: Cut a 20-inch square of plywood or steel to serve as the foundation.
- Attach the gas lift mechanism: Center the mounting plate on the underside of your base and secure it with four bolts.
- Apply the foam: Glue the 3-inch high-density foam to the top of the base using industrial-strength spray adhesive.
- Upholster the seat: Stretch your fabric tightly over the foam and staple it to the underside, pulling out all wrinkles.
- Assemble the backrest: Attach a contoured wooden frame to the rear of the seat base using adjustable steel hinges.
- Install lumbar support: Add a firm foam wedge 6 inches from the bottom of the backrest to support the lower spine.
- Mount the armrests: Bolt the adjustable brackets to the sides of the seat base, ensuring they sit level with your elbows.
- Connect the base and wheels: Press the pneumatic lift into the five-point base and slide the seat assembly onto the top cylinder.
Tip: Always pre-drill holes in wood to prevent splitting the frame. Careful: Never exceed the weight capacity of your gas lift cylinder.
Adjustments for Different Users
The dimensions of your chair determine how well it supports your body. A chair built for a tall person needs a deeper seat, while a shorter person requires a lower starting height to keep their feet flat on the floor.
| User Height | Seat Depth | Adjustment Range | Watch This |
|---|---|---|---|
| Under 5’4″ | 16 inches | 16-18 inches | Foot placement |
| 5’4″ to 5’10” | 18 inches | 18-20 inches | Knee clearance |
| Over 5’10” | 20 inches | 20-22 inches | Thigh support |
It’s safer to start with a slightly shorter seat depth and add a small back cushion than to build a seat that’s too deep, which can cut off circulation behind your knees.
Verifying Your Ergonomic Success
A well-built chair feels firm but forgiving, with your feet resting flat on the floor and your knees at a ninety-degree angle. If you feel pressure points on your thighs, your seat foam is likely too hard or the front edge is too sharp. To prevent this, bevel the front edge of your seat foam with a sharp knife before you apply the fabric.
Safety Standards and Maintenance
Follow the manufacturer’s weight capacity limits for your gas lift cylinder. If you ever hear creaking or notice the chair tilting unexpectedly, stop using it immediately and replace the worn components before someone gets hurt.
Alternative Construction Approaches
Using a Donor Frame
You can strip an old, broken chair of its metal frame and gas lift. This saves time while allowing you to customize seat and backrest comfort.
Modular Wood Components
If you lack metalworking tools, build the entire structure from hardwood. Use dowels and wood glue for joints. This method is cheaper but requires frequent maintenance.
Professional Upholstery Kits
Purchase pre-cut foam and patterned covers. This ensures a professional finish and reduces time spent cutting fabric, though it limits customization.
Frequently asked questions
Can I build an ergonomic chair for cheap?
Yes, you can save money by using a refurbished gas lift and base from a used office chair. However, never compromise on the quality of the foam or the strength of the seat frame, as these affect your spinal health.
How long does it take to build an ergonomic chair?
It takes about 4 to 6 hours for a first-time builder. This assumes you have all materials ready and your tools are charged. Allow extra time if you’re sewing custom fabric covers for the cushions.
Is it safe to build my own chair?
Yes, it’s safe if you follow manufacturer weight ratings for the gas lift and use high-strength bolts. Always test the stability of the base on a flat surface before sitting on the finished chair for the first time.
What happens if the chair feels unstable?
Stop using it immediately if the chair wobbles or tilts. Check that the seat mounting plate is securely bolted to the seat base and that the gas lift is properly seated in the five-point base.
How do I know if the lumbar support is right?
The support is correct if it fills the natural curve of your lower back without pushing you forward. If it feels too aggressive, use a thinner layer of foam to adjust the depth of the support.
Ergonomic chair, in short
Building a chair requires patience, but the result is a tool that fits your body perfectly. Take your time with the measurements and ensure every bolt is tightened securely before you sit down. A little extra care now prevents discomfort and structural failure in the future.