
Choosing an ergonomic office chair for back problems requires three core adjustments: seat height that sets your knees at 90 degrees, adjustable lumbar support resting at your lower spine curve, and a backrest tilt between 100 and 110 degrees. Proper support balances your upper body weight and lowers pressure across your lumbar discs.
Choosing the Best Office Chair for Back Problems
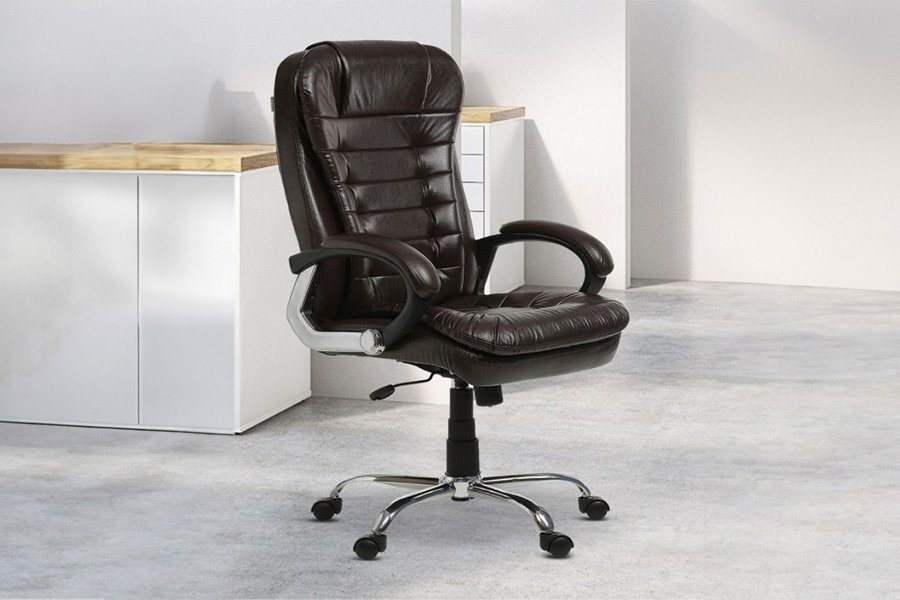
An ergonomic seat keeps your spine in its natural S-shape while you sit at a desk. It distributes your body weight across the seat pan and backrest, taking harsh pressure off your spinal discs and pelvis. When you sit upright without back support, the muscles along your lower back work constantly to hold your trunk up, which causes fatigue and muscle spasms. A common misconception is that a soft, heavily padded executive seat protects your back best. Thick padding lets your pelvis tilt backward, flattening the lumbar curve and increasing spinal strain. True support comes from firm surfaces, adjustable components, and balanced positioning.
The basic method
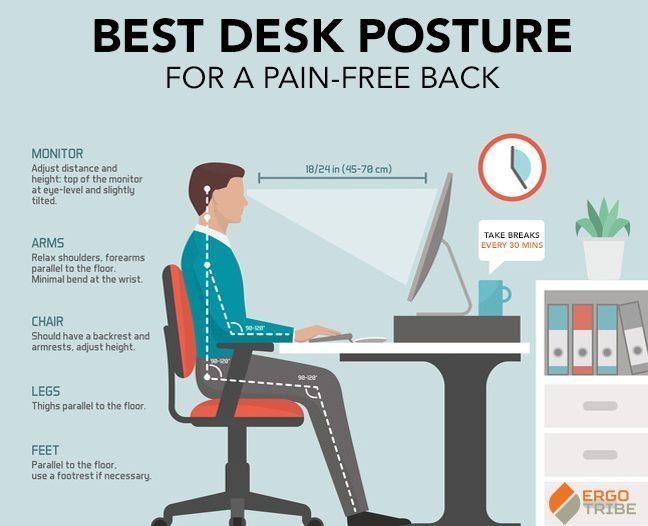
- Sit back so your tailbone touches the backrest, then raise or lower your seat until both feet rest flat on the floor with your knees bent at 90 degrees.
- Slide the seat pan forward or backward until you have a 2- to 3-inch gap between the front edge of the cushion and the back of your knees.
- Move the lumbar support up or down until the firmest curve fits right into the small of your lower back, roughly level with your belt line.
- Adjust the lumbar depth until you feel light, firm forward pressure against your spine without pushing your stomach forward.
- Recline the backrest to an angle between 100 and 110 degrees, then tighten the tilt tension knob so the chair supports your weight without falling backward.
- Lower both armrests until your shoulders relax completely and your elbows rest at approximately 90 degrees.
If your feet hang slightly off the floor, buy a flat footrest; if your knees sit higher than your hips, raise the desk and chair together. Setting the chair height to match your desk instead of your body is the single mistake people actually make, and it costs them weeks of recurring neck and hip strain.
Key numbers and settings at a glance
Your desk setup requires specific angles and clearance measurements to maintain blood flow and spinal alignment throughout the day.
| Situation | What to use | How long | What to watch for |
|---|---|---|---|
| Upper shoulder tightness | Lowered armrests | Full work day | Shoulders pushed toward ears |
| Short leg reach to floor | Under-desk foot platform | Continuous while seated | Thighs lifting off seat pan |
What separates good results from bad ones
Preparation and mechanical fit
A proper setup starts from the floor up, not from the desk down. Align your pelvis and feet before touching the backrest controls. A trade-off exists between thick mesh seats and high-density foam cushions: mesh offers cooler airflow, but firm foam provides more stable pelvic support across full work days. Ensure the recline lock stays slightly loose so your torso can move naturally. This varies by model — check the label or user manual for the weight rating and mechanism controls of your specific chair.
What to check and leave alone
Check your hip angle mid-morning to confirm your hips haven’t slid forward onto the front edge of the seat pan. Once your lumbar height fits your spine, leave the height dial alone and focus on sitting deep into the pocket. Avoid adding thick third-party memory foam cushions to a chair that already fits your frame. Adding extra seat padding changes your hip height, pulls your spine away from the lumbar curve, and ruins your elbow alignment with the desk.
Common problems and quick fixes
A small physical adjustment solves most aches before you need to replace your chair.
| What you notice | What it usually means | What to do first |
|---|---|---|
| Sharp tailbone pain | Seat cushion bottoming out or tilting back | Level seat pan and tilt backrest slightly |
| Swollen ankles after lunch | Seat height is set too high | Lower cylinder until feet rest flat |
| Tingling behind the thighs | Seat cushion is too deep for your legs | Pull seat pan slider back 1 to 2 inches |
| Mid-back muscle strain | Lumbar support placed too high | Lower lumbar curve down to the beltline |
Workplace safety standards for seating
Workplace guidelines define safe sitting parameters to prevent long-term musculoskeletal disorders. The Occupational Safety and Health Administration computer workstations guidance specifies that an office seat must provide adjustable height, an adjustable backrest that supports the lower back, and enough seat depth to prevent pressure behind the knees. If you suffer from acute disc herniation, severe sciatica, or shooting nerve pain down both legs, stop adjusting your chair at home. You need an evaluation from a licensed physical therapist or orthopedic doctor who can diagnose your structural issues safely.
Maintaining mechanical stability over time
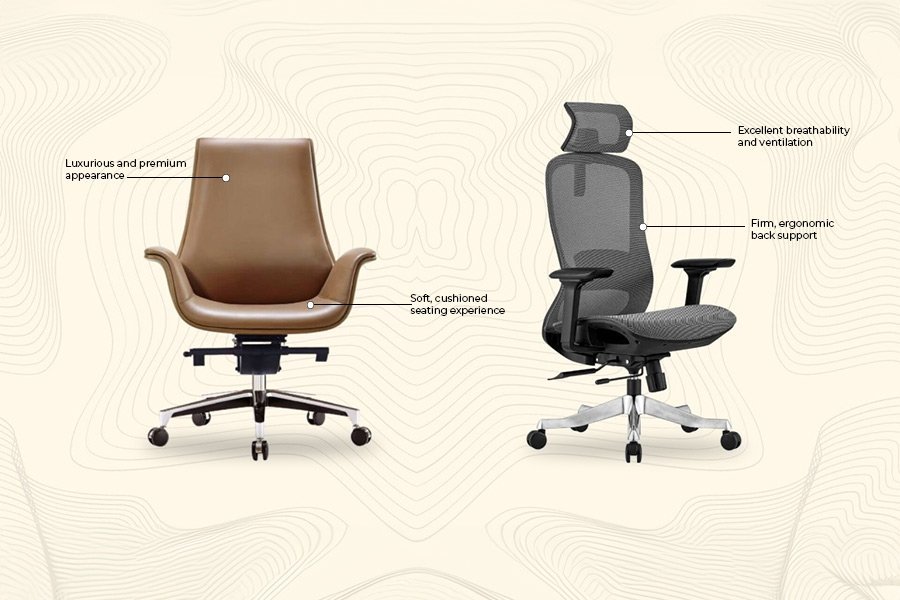
Tighten all frame bolts and armrest screws with a hex wrench whenever you feel the backrest wobble or click during a recline. Clean mesh surfaces with a damp microfiber cloth, and wipe synthetic leather cushions with mild soap to stop cracking. Gas lift cylinders slowly lose pneumatic pressure after extended use. Replace the cylinder when the seat sinks an inch or two on its own during the day. Inspect the caster wheels for caught carpet threads regularly so the chair glides without jerking your hips.
When to use a different approach
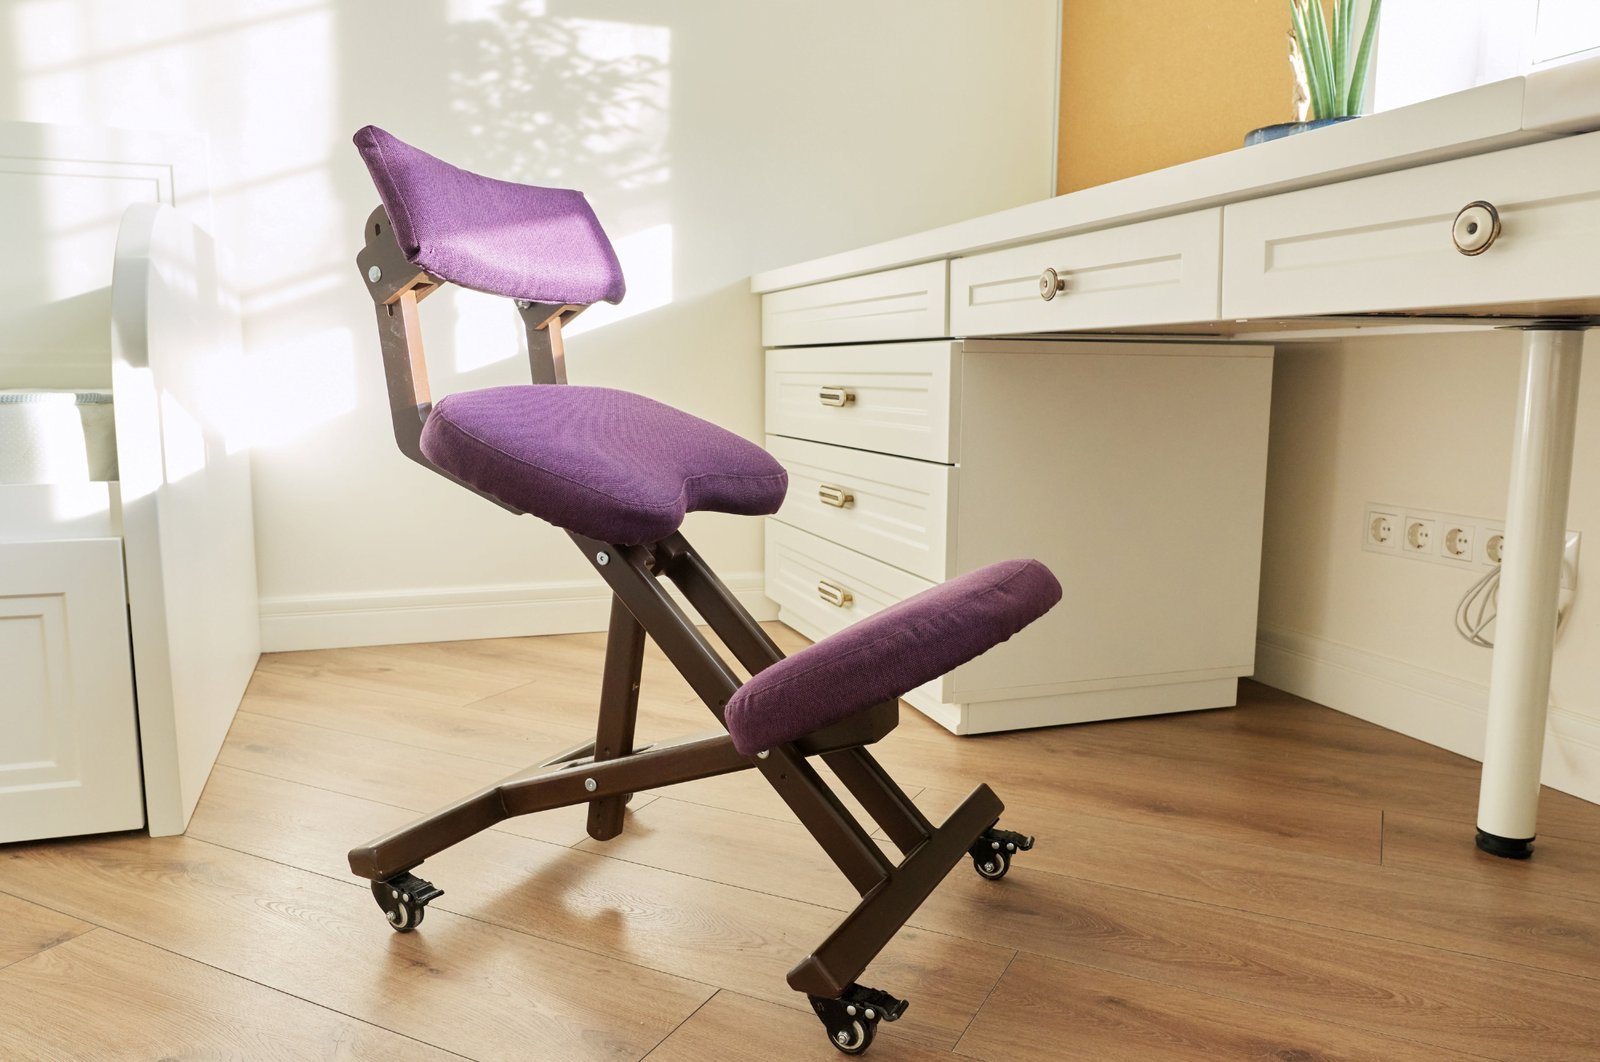
This seating guide isn’t for people with active spinal fractures, acute tailbone bruises, or severe coccyx trauma. Standard ergonomic chairs put direct pressure on your lower pelvic bones. Use a dedicated kneeling chair or a full sit-stand desk setup instead. If you spend your work hours typing on a low sofa or sitting in bed with a laptop, no chair adjustments can save your back; move your workspace to a rigid flat desk immediately.