
To pose while sitting on a chair, shift your weight forward and offset your feet to maintain a long spine and a natural look. This adjustment creates a flattering line for your legs and improves your posture for a more polished appearance.
Essential gear for sitting portraits
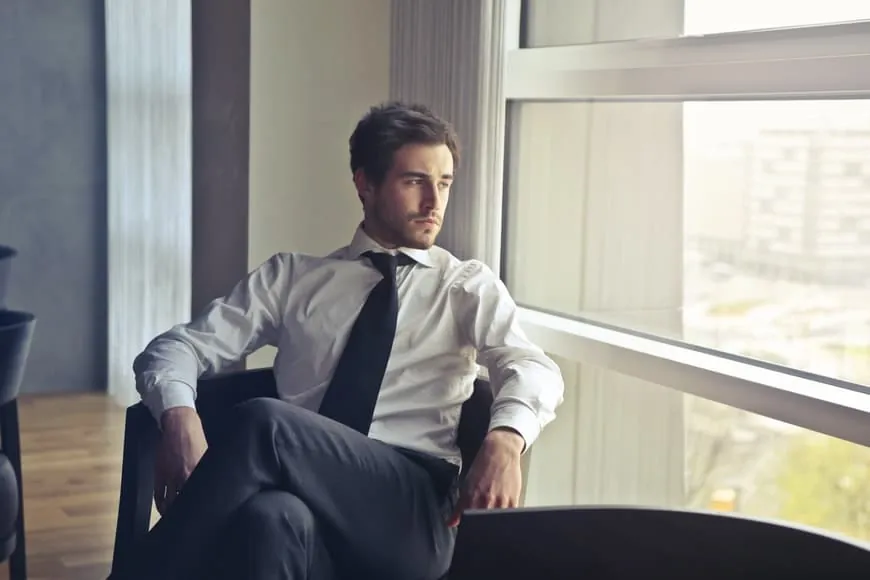
You don’t need much to get started, but having the right chair makes a massive difference in your final look. Choose a firm seat that doesn’t sink, as soft cushions will ruin your alignment.
- A chair with a flat, firm seat.
- A mirror to check your lines in real time.
- A tripod for your camera or phone.
- Comfortable clothing that doesn’t bunch up.
If you’re using an office chair, lock the height mechanism so it doesn’t swivel. Professionals often use American Society of Interior Designers guidelines to select furniture that promotes healthy posture, which translates well to photography.
Steps for a perfect seated pose
- Sit toward the front edge of the seat to stop your spine from slouching against the backrest.
- Place one foot slightly in front of the other to add depth to your leg line.
- Angle your body about 45 degrees away from the lens to create a slimmer silhouette.
- Rest your hands gently on your thighs or let them hang naturally by your sides.
- Keep your shoulders down and back, away from your ears, to elongate your neck.
- Look slightly above the camera lens to ensure your chin stays defined and sharp.
Tip: If you feel stiff, take a deep breath and exhale while dropping your shoulders. Careful: Don’t cross your legs tightly, as this can cause your thigh to flatten and look wider than it is.
How your pose changes with the chair
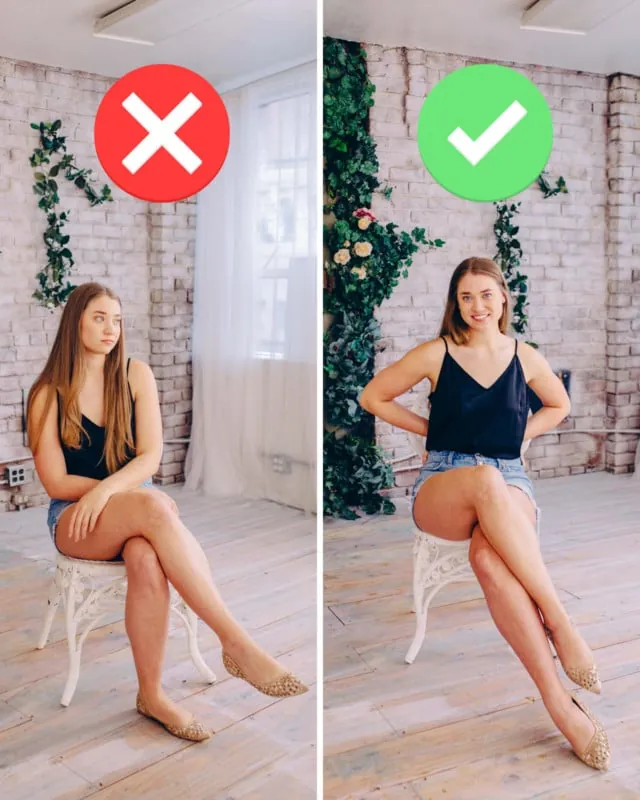
Adjusting your posture based on the furniture prevents unnatural lines. It’s always safer to start with a basic, upright position and add subtle movements until you find the right look.
| Chair Type | Time to Adjust | Main Difference | Watch For |
|---|---|---|---|
| Stool | 2 Minutes | No back support | Slouching |
| Armchair | 5 Minutes | Deep seat depth | Hidden hips |
| Office Chair | 3 Minutes | Swivel movement | Unstable base |
| Bench | 1 Minute | No armrests | Hand placement |
How to check your pose quality
A good pose looks effortless and balanced, while a poor one often looks cramped or tense. If your limbs look like they’re blending into the chair, you have lost your visual separation. This happens when your joints are locked or your limbs are parallel to the camera. To prevent this, always keep a slight bend in your elbows and knees. This creates “negative space” between your body and the chair, which makes the composition look much more professional and clean.
Rules for posture and maintenance
Maintain a neutral spine to avoid strain during your session. If you’re posing for a long session, stand up every 15 minutes to reset your muscles and blood flow. This prevents the “stiff” look that creeps into photos after sitting too long. Once you finish your session, clear your space of any extra gear to avoid tripping hazards. A quick stretch will help you return to your normal range of motion.
Alternative ways to sit
Side-saddle approach
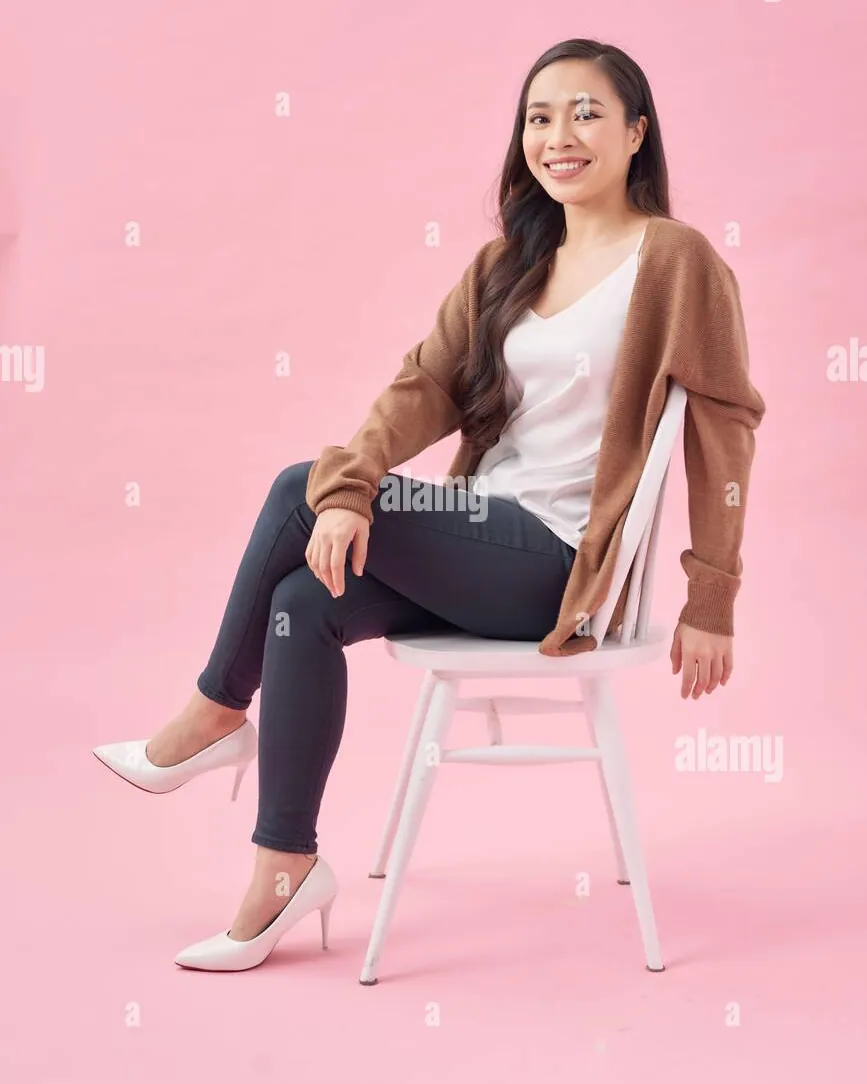
Turn your body sideways on the chair and rest your back against the side rail. This creates a strong diagonal line that makes you look taller and more confident in the frame.
The leaning forward method
Lean your torso forward slightly while keeping your spine straight. This engages your core and creates a more active, engaging look that works well for business or professional headshots.
The floor-to-chair style
Place your feet on the floor while sitting on the very edge of the chair. This is a classic fashion pose that highlights your legs and creates a very modern, minimalist aesthetic.
Frequently asked questions
How do I stop looking stiff in photos?
You stop looking stiff by gently shaking your limbs before the shutter clicks. Relaxing your jaw and keeping a slight bend in your elbows will immediately make your posture appear more natural and fluid to the viewer.
How long should I hold a pose?
You should hold a pose for 3 to 5 seconds to ensure the camera captures a clear image without motion blur. If you’re holding it longer, your muscles will start to tremble, which ruins the line.
Is it safe to cross my legs?
It’s safe, but you should cross them at the ankles rather than the knees. Crossing at the knees often causes the top leg to bulge, while crossing at the ankles maintains a long, elegant leg line.
What if I have no back support?
You must engage your core muscles to stay upright. If you find yourself tiring, take a break every 10 minutes, as a tired core leads to slumped shoulders and a poor, rounded posture in your photos.
Why do my legs look short?
Your legs look short because the camera angle is too high or your feet are too close to the chair. Move your feet further forward or lower the camera to your eye level to fix this.
Can I lean on the backrest?
Sit toward the edge of your chair to maintain an upright, active posture. Keeping your shoulders away from the backrest prevents a sunken appearance and keeps your spine elongated. This simple adjustment ensures you look alert and engaged while using the chair for support.
Conclusion
Don’t worry if you feel a bit stiff at first; it takes time to find your most comfortable angles. Try practicing these movements in front of a mirror today. You’ll soon see how small shifts make a big difference, and you’ll feel much more confident the next time you’re being photographed.
Related guides