
To capture a natural look, you should shift your weight to one side and keep your spine elongated while posing on a chair for photos. Keep your legs at different angles to create depth and prevent a stiff appearance.
Essential Gear for Your Shoot
You’ll need a few simple items to prepare for your session. Ensure you have these ready before you begin:
- A sturdy chair with a flat seat and no arms.
- A full-length mirror to check your lines.
- Comfortable clothing that allows for easy movement.
- A tripod or a friend to hold the camera at eye level.
If you use a chair with wheels, lock them first to avoid sliding.
Steps for a Polished Pose
- Sit toward the very front edge of the seat to keep your posture upright.
- Extend one leg forward while bending the other slightly underneath the chair.
- Place your hands on your lap or rest one elbow on your knee.
- Angle your shoulders toward the camera while keeping your face slightly turned away.
- Point your toes or keep your feet flat to create a clean line from your hip.
- Look slightly above the camera lens to open up your eyes and features.
Tip: Avoid crossing your legs directly at the knees, as this often makes them look bulky. Careful: Don’t slouch back into the chair, as this hides your waistline and makes your legs look shorter.
How to Pose on Your Chair Type
The furniture you choose affects your results.
| Chair Type | Effort Level | Key Difference | Watch For |
|---|---|---|---|
| Wooden Stool | Low | Minimal back support | Your spine angle |
| Upholstered Armchair | Medium | Soft, sinking seat | Hidden posture |
| Dining Chair | Low | Rigid, upright frame | Sharp edges |
| Office Chair | High | Swivel and wheels | Unwanted movement |
Always start with a basic, sturdy chair before moving to complex furniture. It’s much safer to master the form on a simple base than to struggle with balance on something that moves or tilts.
How to Check Your Results
A good pose separates your arms from your torso for a flattering silhouette. If you feel like a “blob” in the photo, move your limbs away from your center to create more space and light.
Standards and Final Adjustments
Proper alignment creates triangles with your limbs for balanced composition. If you struggle with balance, consult a professional photographer for guidance on body mechanics.
Alternative Posing Strategies
The Reclined Lean
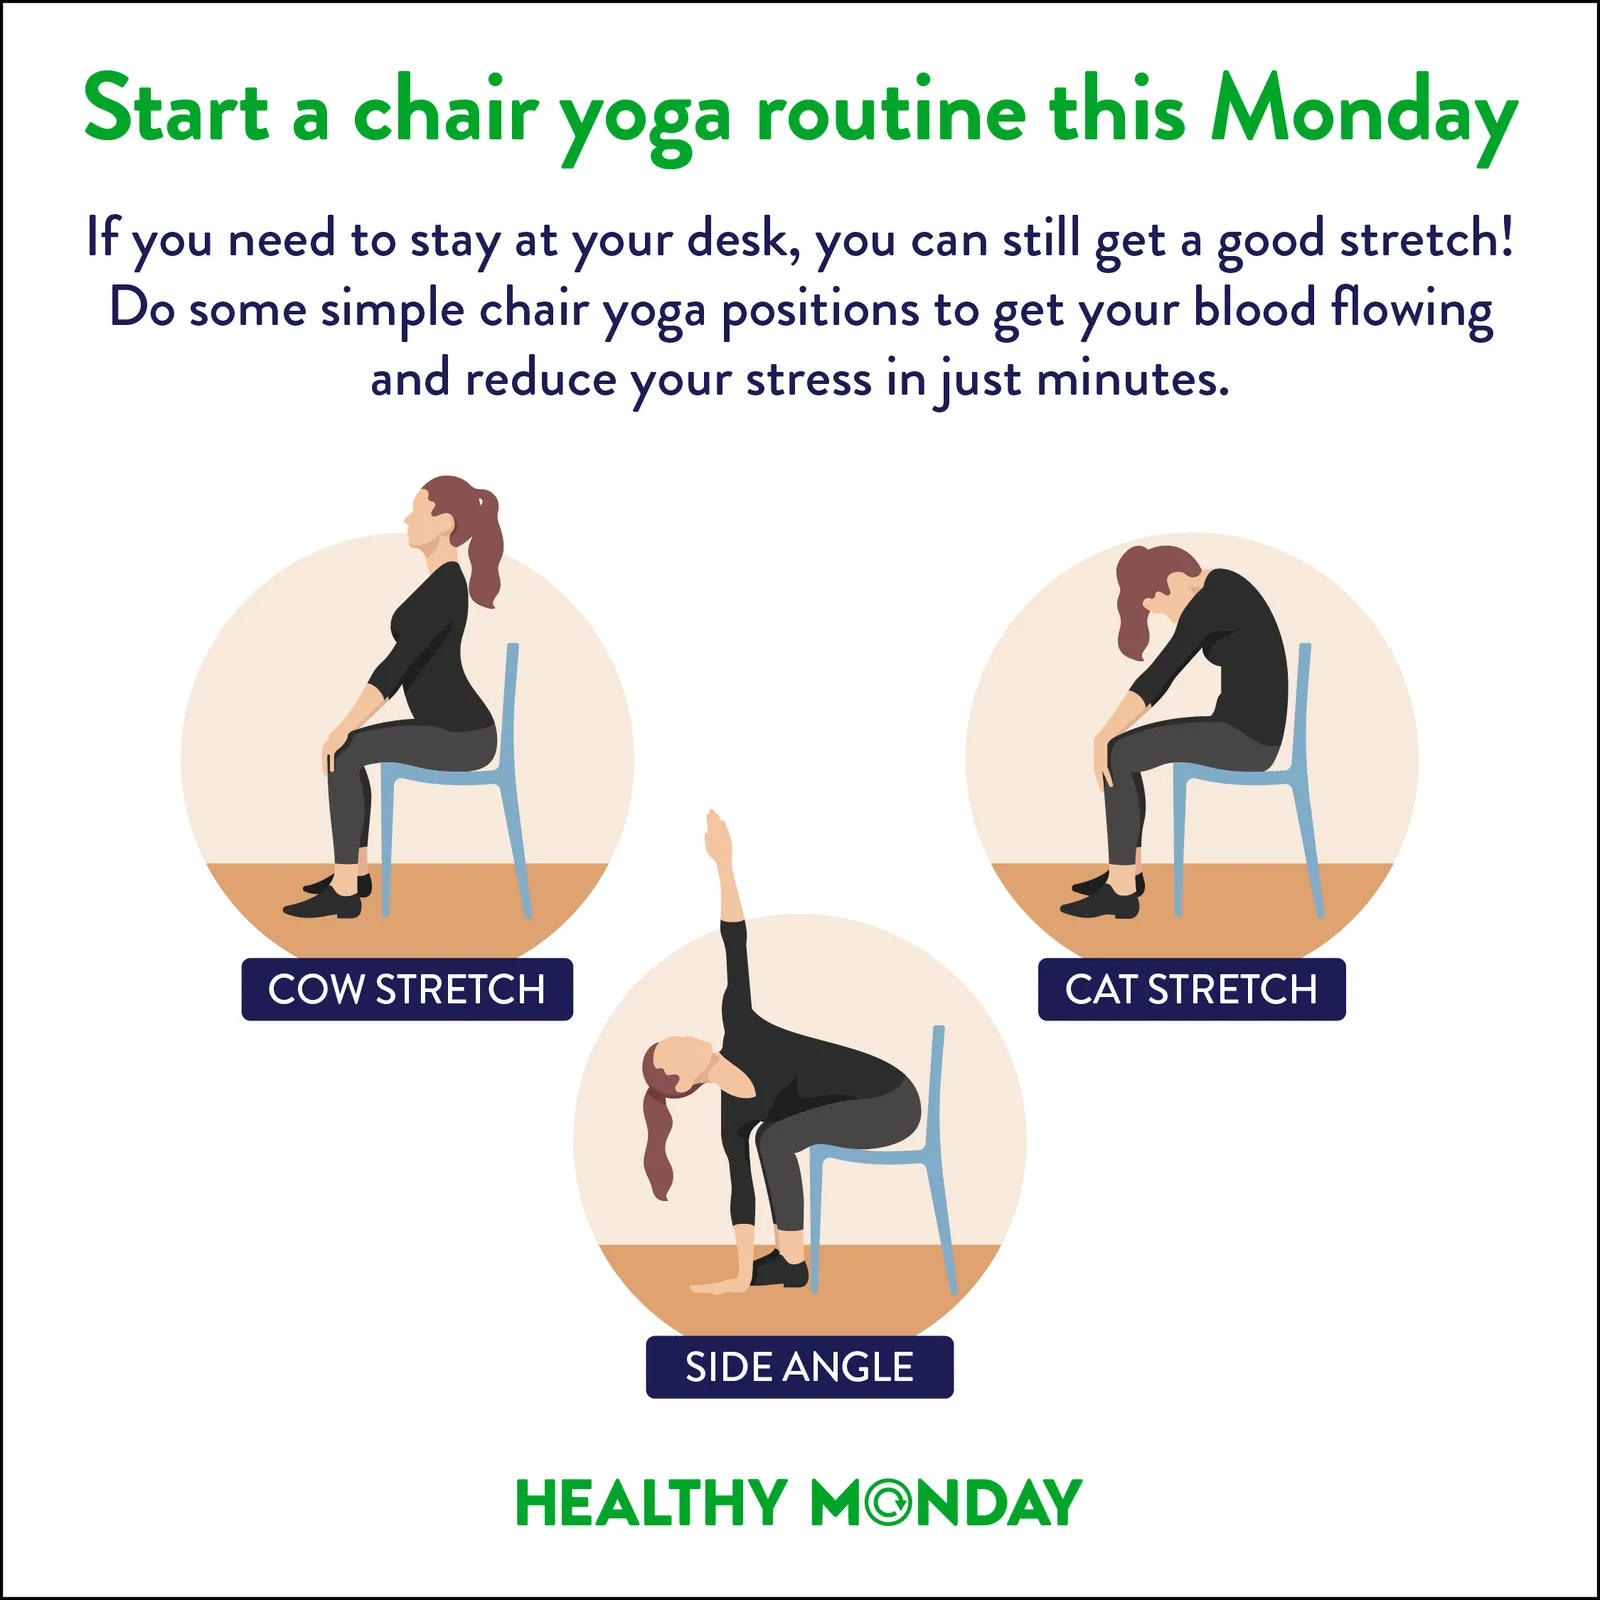
Leaning back against the backrest creates a relaxed, casual vibe. This works well with longer chairs, but keep your head held high to avoid a double chin.
The Side Profile
Turning your body sideways while keeping your face toward the camera highlights your jawline. This reduces the width of your frame and adds a dramatic, artistic feel.
The Floor-to-Chair Blend
Sitting on the floor while resting your elbows on the seat creates a youthful, energetic look. This requires more flexibility but provides a unique, dynamic camera angle.
Frequently asked questions
How long does it take to get a good pose?
It takes about 10 to 15 minutes of practice to find your best angles. The time varies based on how quickly you adjust your body to the camera’s height.
Is it safe to stand on a chair for a pose?
No, you should never stand on a chair unless it’s specifically designed for weight-bearing. Always keep your weight centered on the seat to avoid a fall.
How do I stop my legs from looking big?
Extend one leg toward the camera and keep your knees bent to create depth. This simple change removes the flat, wide look that happens when legs are parallel.
What happens if I feel uncomfortable?
If you feel strained, change your position immediately to avoid muscle cramping. A natural look only comes when your body is relaxed and not forced into a painful shape.
How often should I check the screen?
Check your progress every 3 to 5 shots to ensure your lighting and posture remain consistent. This saves time and helps you fix small errors before you finish.
Try to keep your movements fluid as you shift between these positions.
Conclusion
Don’t be afraid to experiment with your favorite music playing in the background to help you relax. When you feel comfortable, your confidence will shine through in every shot. Grab your camera or phone, find a sunny spot, and start practicing today—you’ll be amazed at how quickly you’ll find your perfect look.