
Drawing a swivel chair requires breaking down its complex mechanical form into simple, manageable geometric shapes. By visualizing the chair as a series of interconnected cylinders, cubes, and spheres, you can create an accurate representation that maintains the correct sense of depth and perspective, regardless of the specific style of office furniture you’re sketching.
Key Takeaways
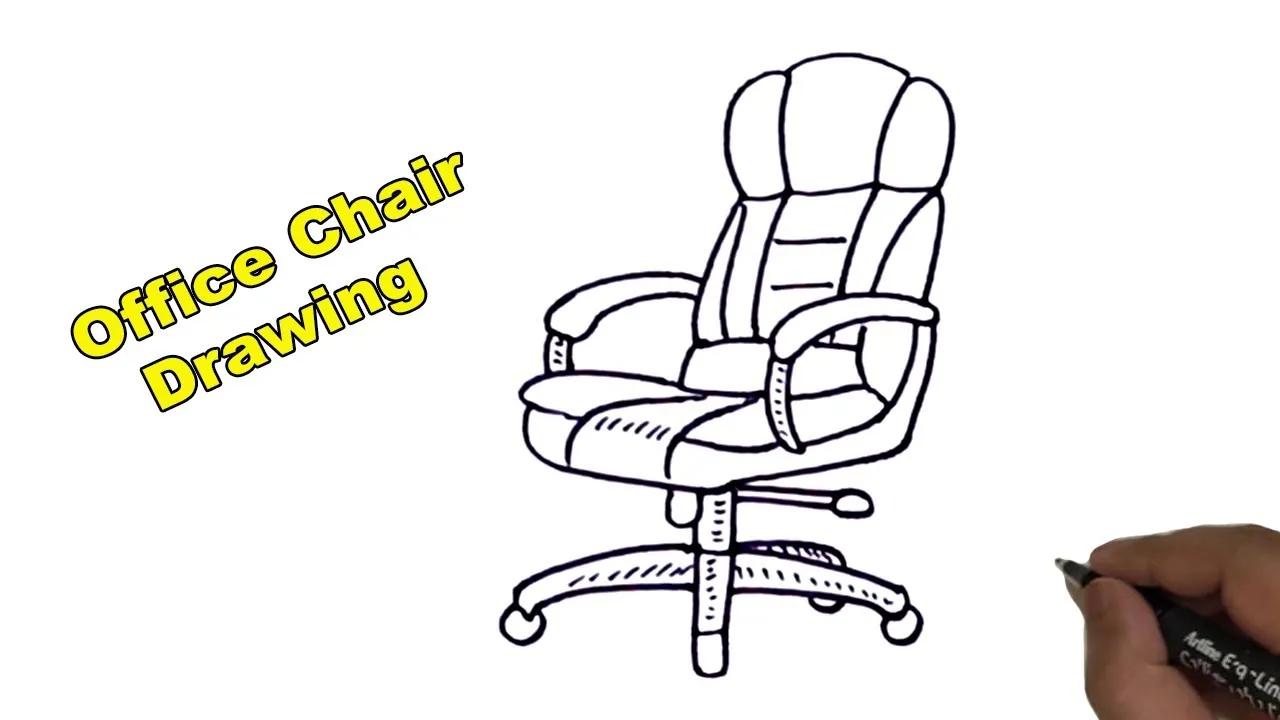
- Start with a central vertical axis to ensure the chair remains balanced.
- Use basic 3D primitives like cylinders for the gas lift and casters.
- Apply one-point or two-point perspective to keep the seat and backrest aligned.
- Focus on the negative space between the armrests and the seat cushion.
- Refine your outline by adding mechanical details like adjustment levers and bolts.
How to Draw a Swivel Chair
To begin your sketch, establish the central vertical axis of the chair. This line represents the gas cylinder, which is the heart of any swivel mechanism. Draw a small circle at the base to represent the hub where the legs attach, and a rectangle at the top to indicate the seat position. Keep your initial lines very light, as these are merely structural guides for the final form.
Establishing the Base and Casters
The base of a swivel chair typically consists of a five-point star configuration. Draw a flat pentagon or a star shape centered around the bottom of your vertical cylinder. From each point of this star, extend a small cylinder downward to represent the swivel casters.
| Component | Shape | Placement |
|---|---|---|
| Gas Cylinder | Tall Cylinder | Center |
| Base Legs | Five-Point Star | Bottom |
| Casters | Small Spheres/Cylinders | Ends of Legs |
| Seat Cushion | Thick Rectangular Prism | Top of Cylinder |
| Backrest | Curved Plane | Rear of Seat |
Constructing the Seat and Back
The seat is essentially a thick, rounded rectangle. Draw this shape at the top of your central cylinder. For the backrest, draw a vertical, slightly curved plane that connects to the rear of the seat. Using a curved surface helps denote the ergonomic design typical of modern office chairs. Ensure the backrest is slightly tilted to give the chair a more natural, inviting appearance rather than a static, rigid look.
Adding Armrests and Levers
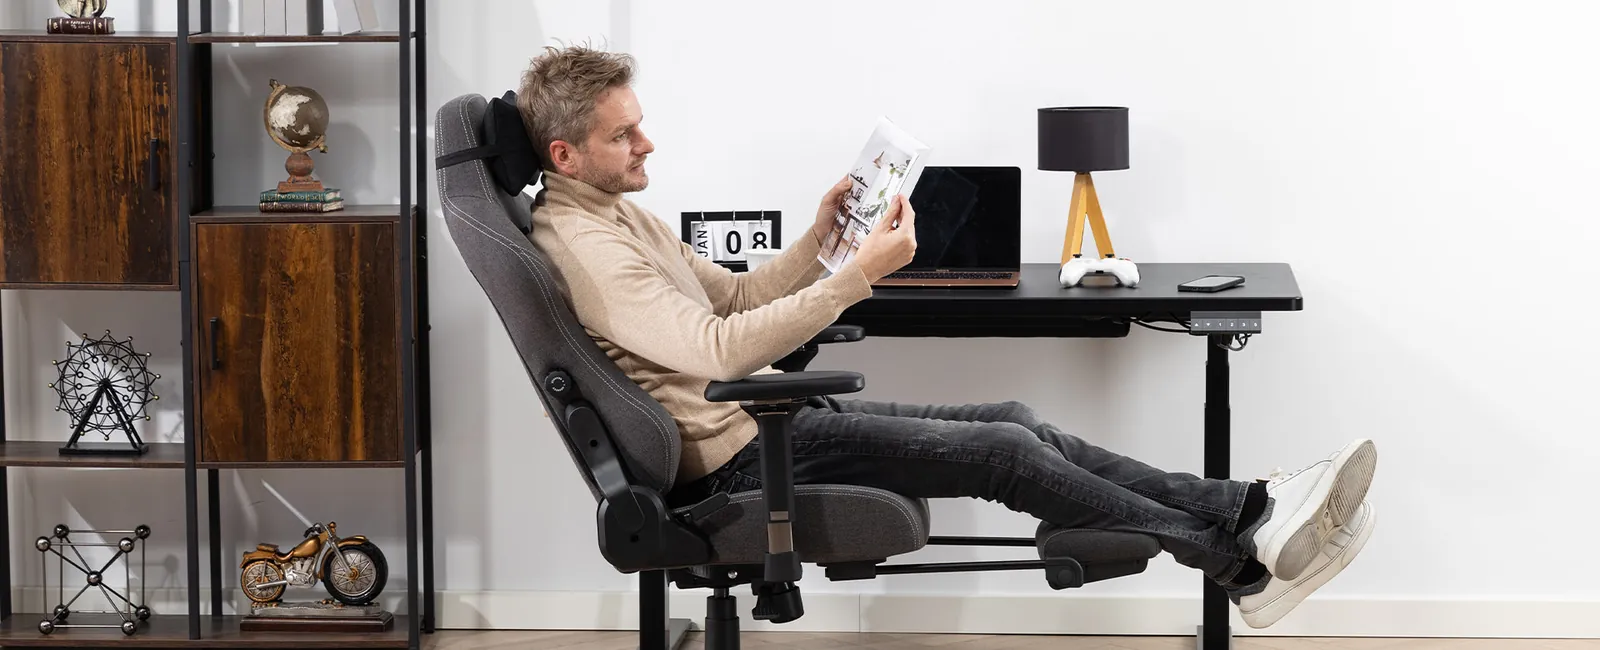
Armrests are often “T” or “C” shaped structures attached to the sides of the seat. Sketch these as solid blocks first, then refine the curves to match the padding. Don’t forget the adjustment levers located underneath the seat on the right-hand side. These small, thin rectangles add a sense of realism and mechanical function to your drawing, distinguishing it from a simple dining chair.
How to Add Perspective Depth
To make the chair look three-dimensional, apply the principles of linear perspective. If you’re drawing the chair from a three-quarter view, all horizontal lines on the seat should converge toward a single vanishing point on your horizon line. If the chair is turned, use two-point perspective to ensure the corners of the seat and the backrest align correctly in space, preventing the drawing from looking flat or distorted.
Refining Your Mechanical Details
Once the primary structure is set, add the mechanical joints where the backrest meets the seat and where the seat attaches to the gas lift. These areas often feature plastic casings or metal brackets. Adding these small details provides visual interest and helps the viewer understand how the chair actually functions. Use varied line weights—thicker lines for the outer silhouette and thinner lines for internal seams—to create a professional finish.
Common Mistakes to Avoid
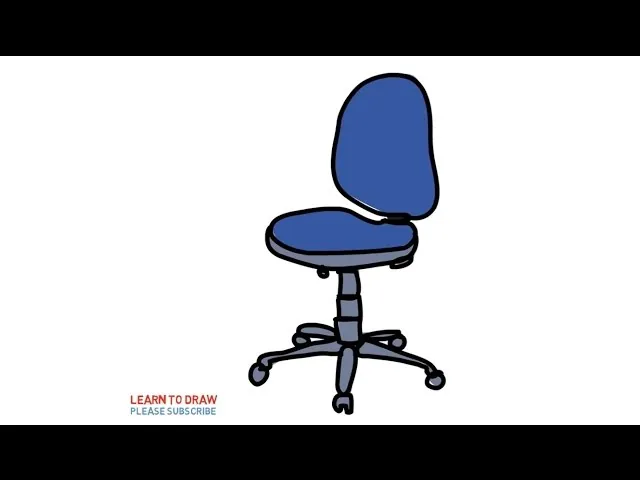
- Drawing the base with too few or too many legs; standard swivel chairs have five.
- Forgetting the tilt mechanism that sits between the seat and the gas lift.
- Making the armrests too long or too short relative to the seat depth.
- Ignoring the ergonomic curve of the backrest, which usually follows the shape of a human spine.
Frequently Asked Questions
Should I start with the base or the seat?
It’s generally better to start with the central gas cylinder and the seat. By establishing the main mass of the chair first, you provide a stable anchor point. Once the seat is positioned, you can draw the base legs downward and the backrest upward, ensuring that all components remain centered and balanced along your initial vertical axis.
How do I make the casters look realistic?
Draw each caster as a small, separate cylinder or sphere attached to the end of the base leg. Adding a small horizontal line or an oval shape within the caster helps suggest the wheel’s rotation. By varying the size of the wheels based on their distance from the viewer, you create a sense of depth and scale that grounds the chair in the environment.
What is the most important part to get right?
The most critical element is the connection between the base and the seat. In a swivel chair, this is a distinct mechanical junction. If this area looks too thin or unstable, the drawing will lack the weight and structural integrity required to look like a real, functional piece of office furniture. Focus on the thickness of the metal or plastic housing in this specific area.
How do I draw the fabric or padding?
Represent fabric by using soft, rounded edges rather than sharp, geometric corners. You can indicate texture by adding a few subtle, wavy lines along the edges of the seat and backrest to suggest stitching or upholstery seams. Avoid over-detailing; a few well-placed lines are enough to imply the presence of soft padding without cluttering your overall sketch.
Pro Tip: Use a kneaded eraser to lift graphite from the highlights on the rounded parts of the chair, which instantly creates a sense of volume and shine.
Warning: Avoid drawing the seat as a perfectly flat square, as this will make the chair look like a box rather than a piece of furniture designed for human comfort.
Conclusion
To continue improving your technical drawing skills, practice sketching the chair from different angles, such as a top-down view or a low-angle perspective, to better understand how the mechanical components overlap. Focusing on these variations will help you master the spatial relationships of complex objects, allowing you to draw any piece of furniture with confidence and accuracy.