
You can master chair poses by sitting on the front third of the seat, angling your torso 45 degrees, and dropping your shoulders to create clean lines and prevent slumping. This base position works best for portraits and professional headshots.
Essential gear for chair poses
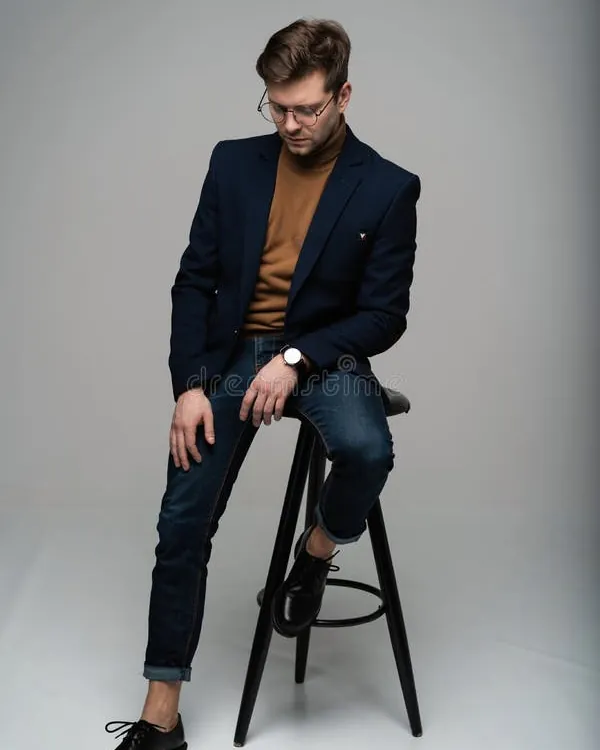
You don’t need fancy studio gear to practice seated modeling, but having the right chair makes a big difference. Gather these basic items before you start shooting:
- A armless dining chair or wooden stool with a flat, level base
- A full-length mirror positioned directly opposite you at eye level
- A phone or camera set on a stable tripod at chest height
- Form-fitting clothes that show your waistline and joints clearly
- Flat-soled shoes or bare feet so you can plant your weight easily
A sturdy wooden stool works well, but a deep, soft couch won’t because your hips sink too low.
Steps for posing on a seat
Sit down slowly and follow these specific movements in order to build natural lines for the camera.
Sit on the front third of the chair. 2. Turn your hips 45 degrees away from the lens while keeping your chest open. 3. Drop your front foot flat on the floor and tuck your back foot onto its toes beneath the seat edge. 4. Roll your shoulders back and down, keeping about 2 inches of space between your ears and your collarbone. 5. Rest your hands gently on your thighs with your fingers soft and slightly parted, showing the outer edge of your hands to the lens. Careful: Don’t press your hands down hard onto your legs, or your palms will look broad and tense. 6. Hinge your upper body forward from the hips by about 10 degrees toward the camera lens. Tip: If you feel stiff, take a deep breath in, exhale, and soften your jaw before the shutter clicks. 7. Tilt your chin slightly down and project your forehead forward by 1 inch to define your jawline.
Posing adjustments by chair style
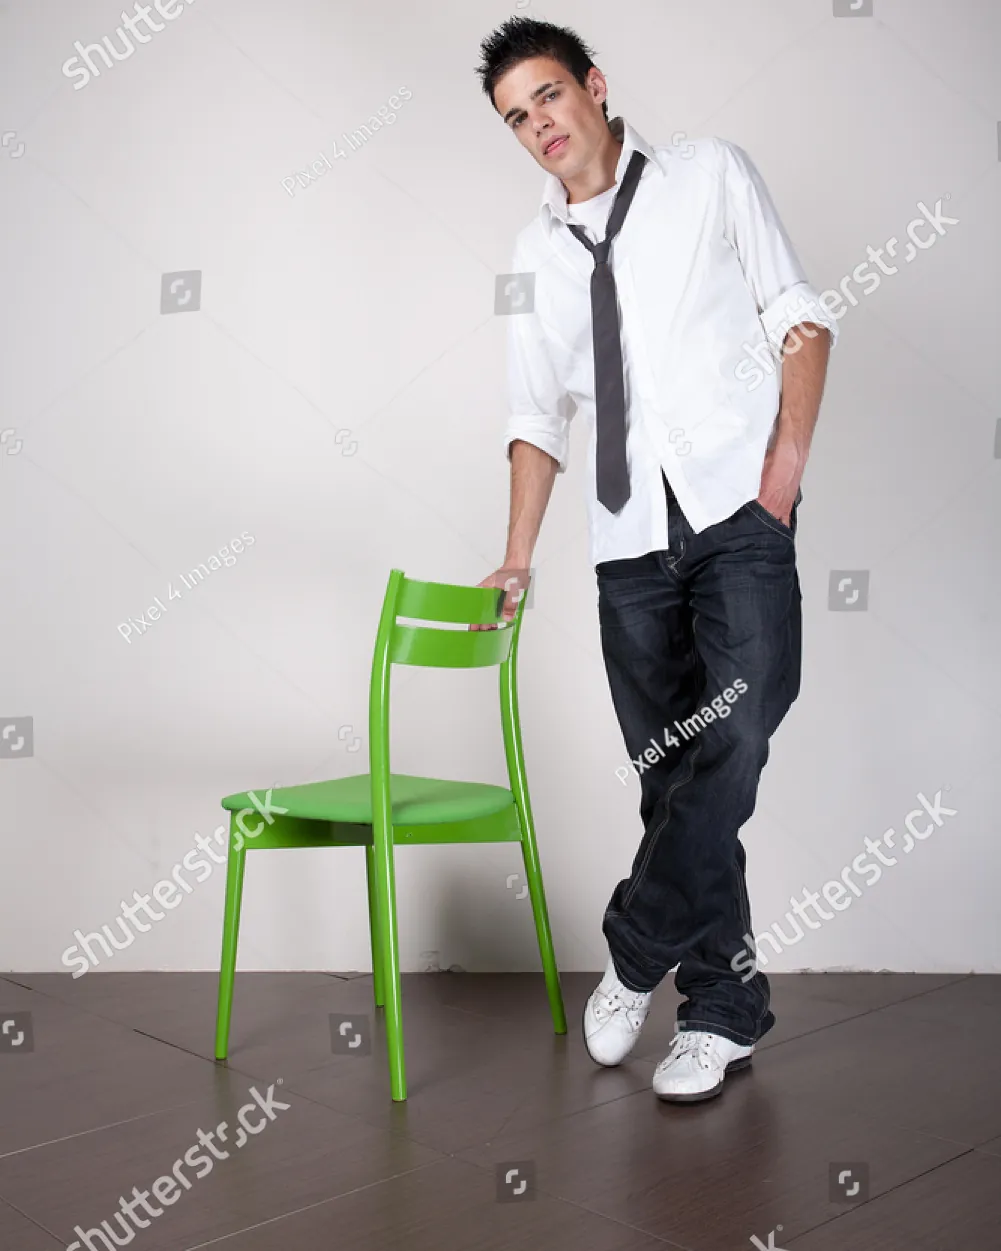
Different seats change how your body balances, meaning you must adjust your posture based on the frame. If your chair is tall, rest your feet on the rungs; if it’s low, extend your legs forward.
| Chair Style | Setup Time | What Changes | Watch Points |
|---|---|---|---|
| Hard Stool | No back support; core carries your full weight | Watch for lower back slouching | |
| Armchair | Wide frame; keeps elbows elevated off cushions | Don’t sink into the deep padding | |
| Swivel Chair | Unstable base; requires planted feet for balance | Avoid twisting during the shot | |
| Low Bench | Lower knees; hips sit closer to floor level | Keep knees angled away from camera |
It’s safer to start with small posture shifts and add dramatic angles slowly than to over-twist on your first try.
Spotting good seated body angles
A strong pose shows clear space between your arms and your torso, creating a defined waistline. Your legs form triangles instead of flat, parallel lines against the floor.
A poor result looks squished, which happens when you lean fully into the backrest and flatten your arms against your sides. This flaw occurs because soft tissues spread out when pressed against hard surfaces. Keep your limbs slightly lifted, point your knees away from the lens, and hinge forward to keep shapes clean.
Ergonomics and resetting your space
Proper alignment keeps your spine safe during long portrait sessions. The Occupational Safety and Health Administration explains that a supported lumbar curve and horizontal thighs prevent strain when seated.
Different seated posing styles
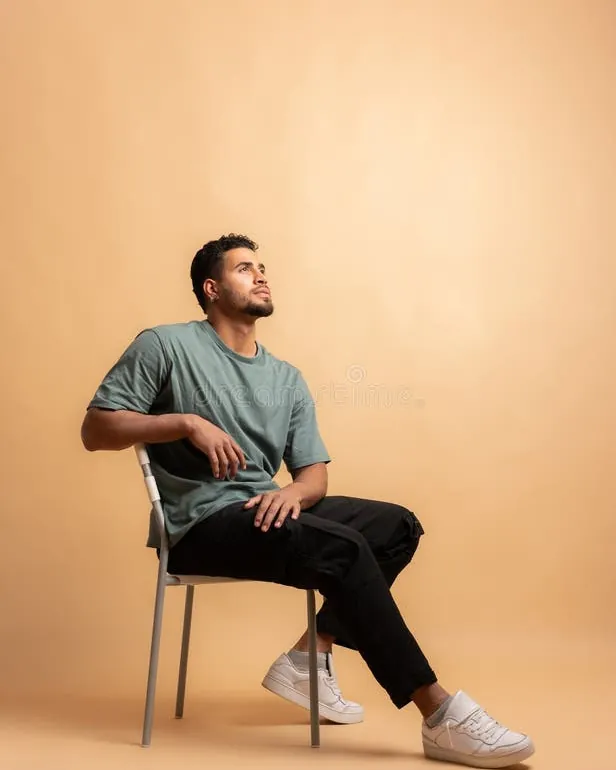
The forward power lean
Rest both elbows on your knees while leaning your torso forward at a 30-degree angle. This setup creates a confident, modern look for business headshots. It takes under a minute to set up and works on any standard dining chair.
The backward drape
Turn the chair around completely and straddle the seat while facing the backrest. Fold your forearms along the top rail and rest your chin nearby. This casual option hides your midsection and costs nothing in extra equipment.
The side profile drape
Sit sideways on the seat and hook one arm over the chair back. Turn your head back toward the camera over your shoulder. This choice creates sharp lines along your neck and emphasizes your jawline in creative fashion shoots.
Frequently asked questions
Where should I put my hands when sitting?
Rest your hands softly on your thighs, your lap, or the chair arm. Keep your fingers loose and curved. Never hide your thumbs in your pockets or make tight fists, because relaxed hands look natural on camera.
Is it better to sit forward or lean back?
Sit forward on the front third of the seat. Leaning back against the chair causes your spine to round, pushes your stomach outward, and makes your posture look tired or stiff in photographs.
How do I make my legs look longer in a chair?
Point your legs toward the corner of the frame and extend your front foot on its toes. Extending your foot toward the camera creates a diagonal line that makes your legs look longer.
What should I avoid wearing for seated photos?
Avoid stiff, bulky jackets and tight, non-stretch skirts that ride up high. Heavy fabrics bunch around your stomach when you sit down, which creates bulky folds that distract from your face.
Can I cross my legs during a portrait shoot?
Yes, cross your legs at the ankles or cross one knee loosely over the other at an angle. Avoid crossing your legs square to the camera lens, which blocks your body line.
How long can I hold a seated pose before shifting?
Hold a pose for 3 to 5 seconds per photo. Shifting your weight slightly between every two camera clicks keeps your muscles relaxed and stops your facial expression from freezing.
Sitting for portraits doesn’t have to feel awkward or unnatural. By staying near the front edge of the seat, angling your limbs, and keeping your shoulders relaxed, you’ll produce sharp, flattering photos every time you sit down.
Conclusion
Don’t be afraid to experiment with these adjustments in front of a mirror until you feel completely relaxed. Once you’ve found a shape that feels natural, try snapping a few test photos to see how the light hits your face. You’ll be ready for your next camera session in no time.
Related guides