
Keeping your back away from the cushion and shifting your weight forward helps you achieve elegant chair poses.
Essential gear for seated portraits
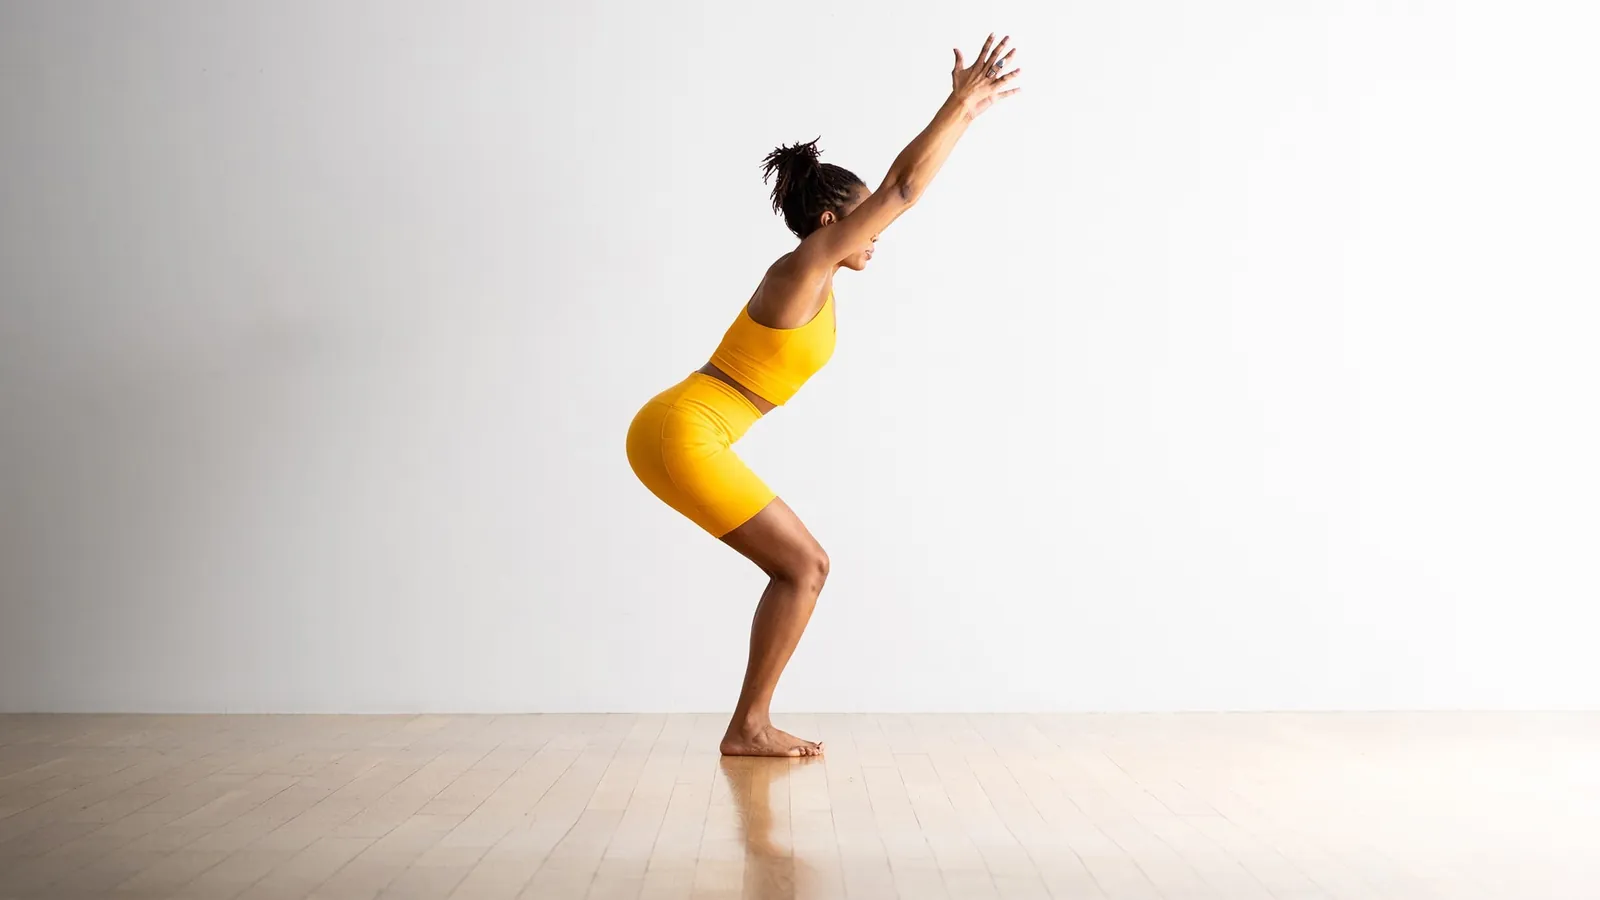
To get the best results, you need a few items to control the environment and your body.
- A chair with a firm, flat seat (avoid deep couches).
- A mirror to check your lines before the camera clicks.
- Comfortable clothing that doesn’t bunch up when you sit.
- A tripod if you’re taking self-portraits to keep the camera steady.
If you’re using a stool, it’s often easier to keep your posture upright compared to a reclined seat.
Steps to pose in a chair
- Sit toward the front edge of the seat to stop your spine from curving into the backrest.
- Plant one foot slightly forward and keep the other tucked back to create an interesting angle for your legs.
- Angle your torso about 45 degrees away from the lens to make your frame look slimmer.
- Rest your hands gently on your lap or the armrest, but avoid pressing them down hard.
- Push your chin slightly forward and up to define your jawline and minimize neck shadows.
- Cross your ankles rather than your knees if you want to keep your legs looking longer.
- Check your shoulders to ensure they’re relaxed and not hunched toward your ears.
Tip: If you feel stiff, take a deep breath and exhale while dropping your shoulders down. Careful: Avoid locking your knees, as this makes your legs look tense and unnatural on camera.
Sitting variations and effort
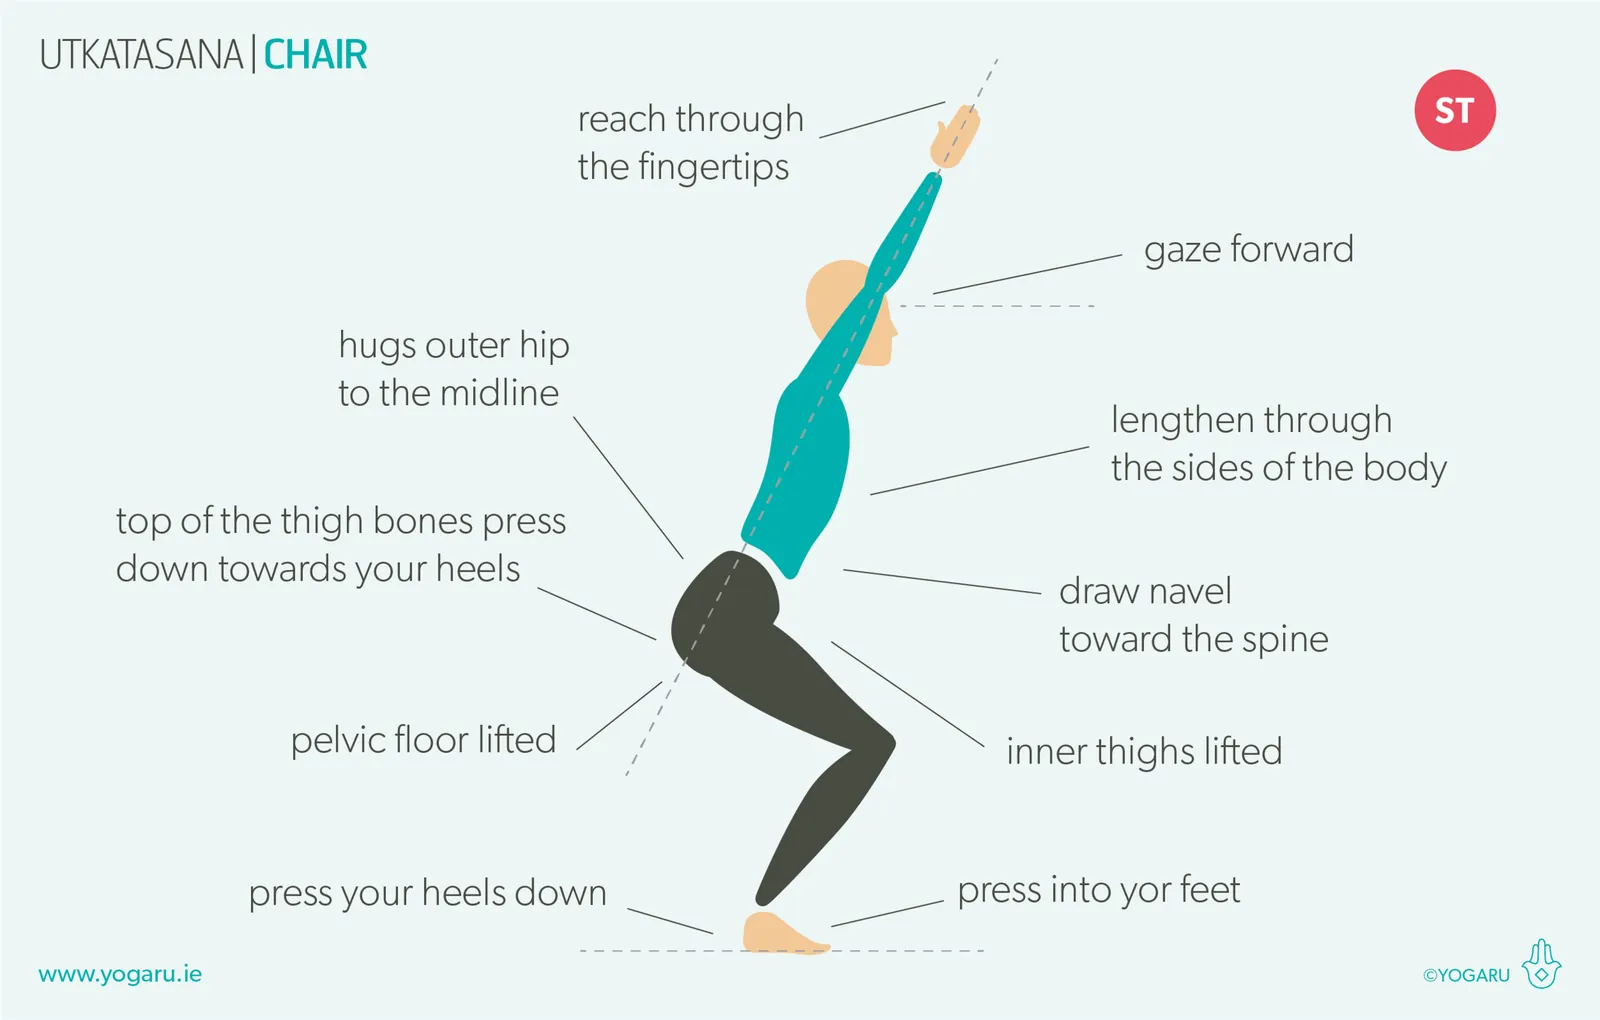
Pose difficulty depends on your furniture. Start with a high-backed chair to practice balance.
| Chair Type | Difficulty | Time to Master | Watch For |
|---|---|---|---|
| Dining chair | Easy | 5 minutes | Slouching back |
| Low stool | Medium | 10 minutes | Knee placement |
| Deep armchair | Hard | 20 minutes | Fabric bunching |
| Office chair | Medium | 10 minutes | Visible wheels |
It’s always safer to start with a basic, upright seat and add complexity once you feel comfortable with your angles.
Judging your pose quality
Good poses look effortless; poor ones show tension. High shoulders or stiff arms suggest you’re trying too hard. Shake out limbs between shots. Keep movements fluid for a natural look.
Rules for comfort and maintenance
Follow the standard of keeping your weight distributed evenly to avoid muscle strain. For complex or long-term posing work, consult a professional photographer who can guide you through safe body mechanics and alignment.
Alternative posing methods
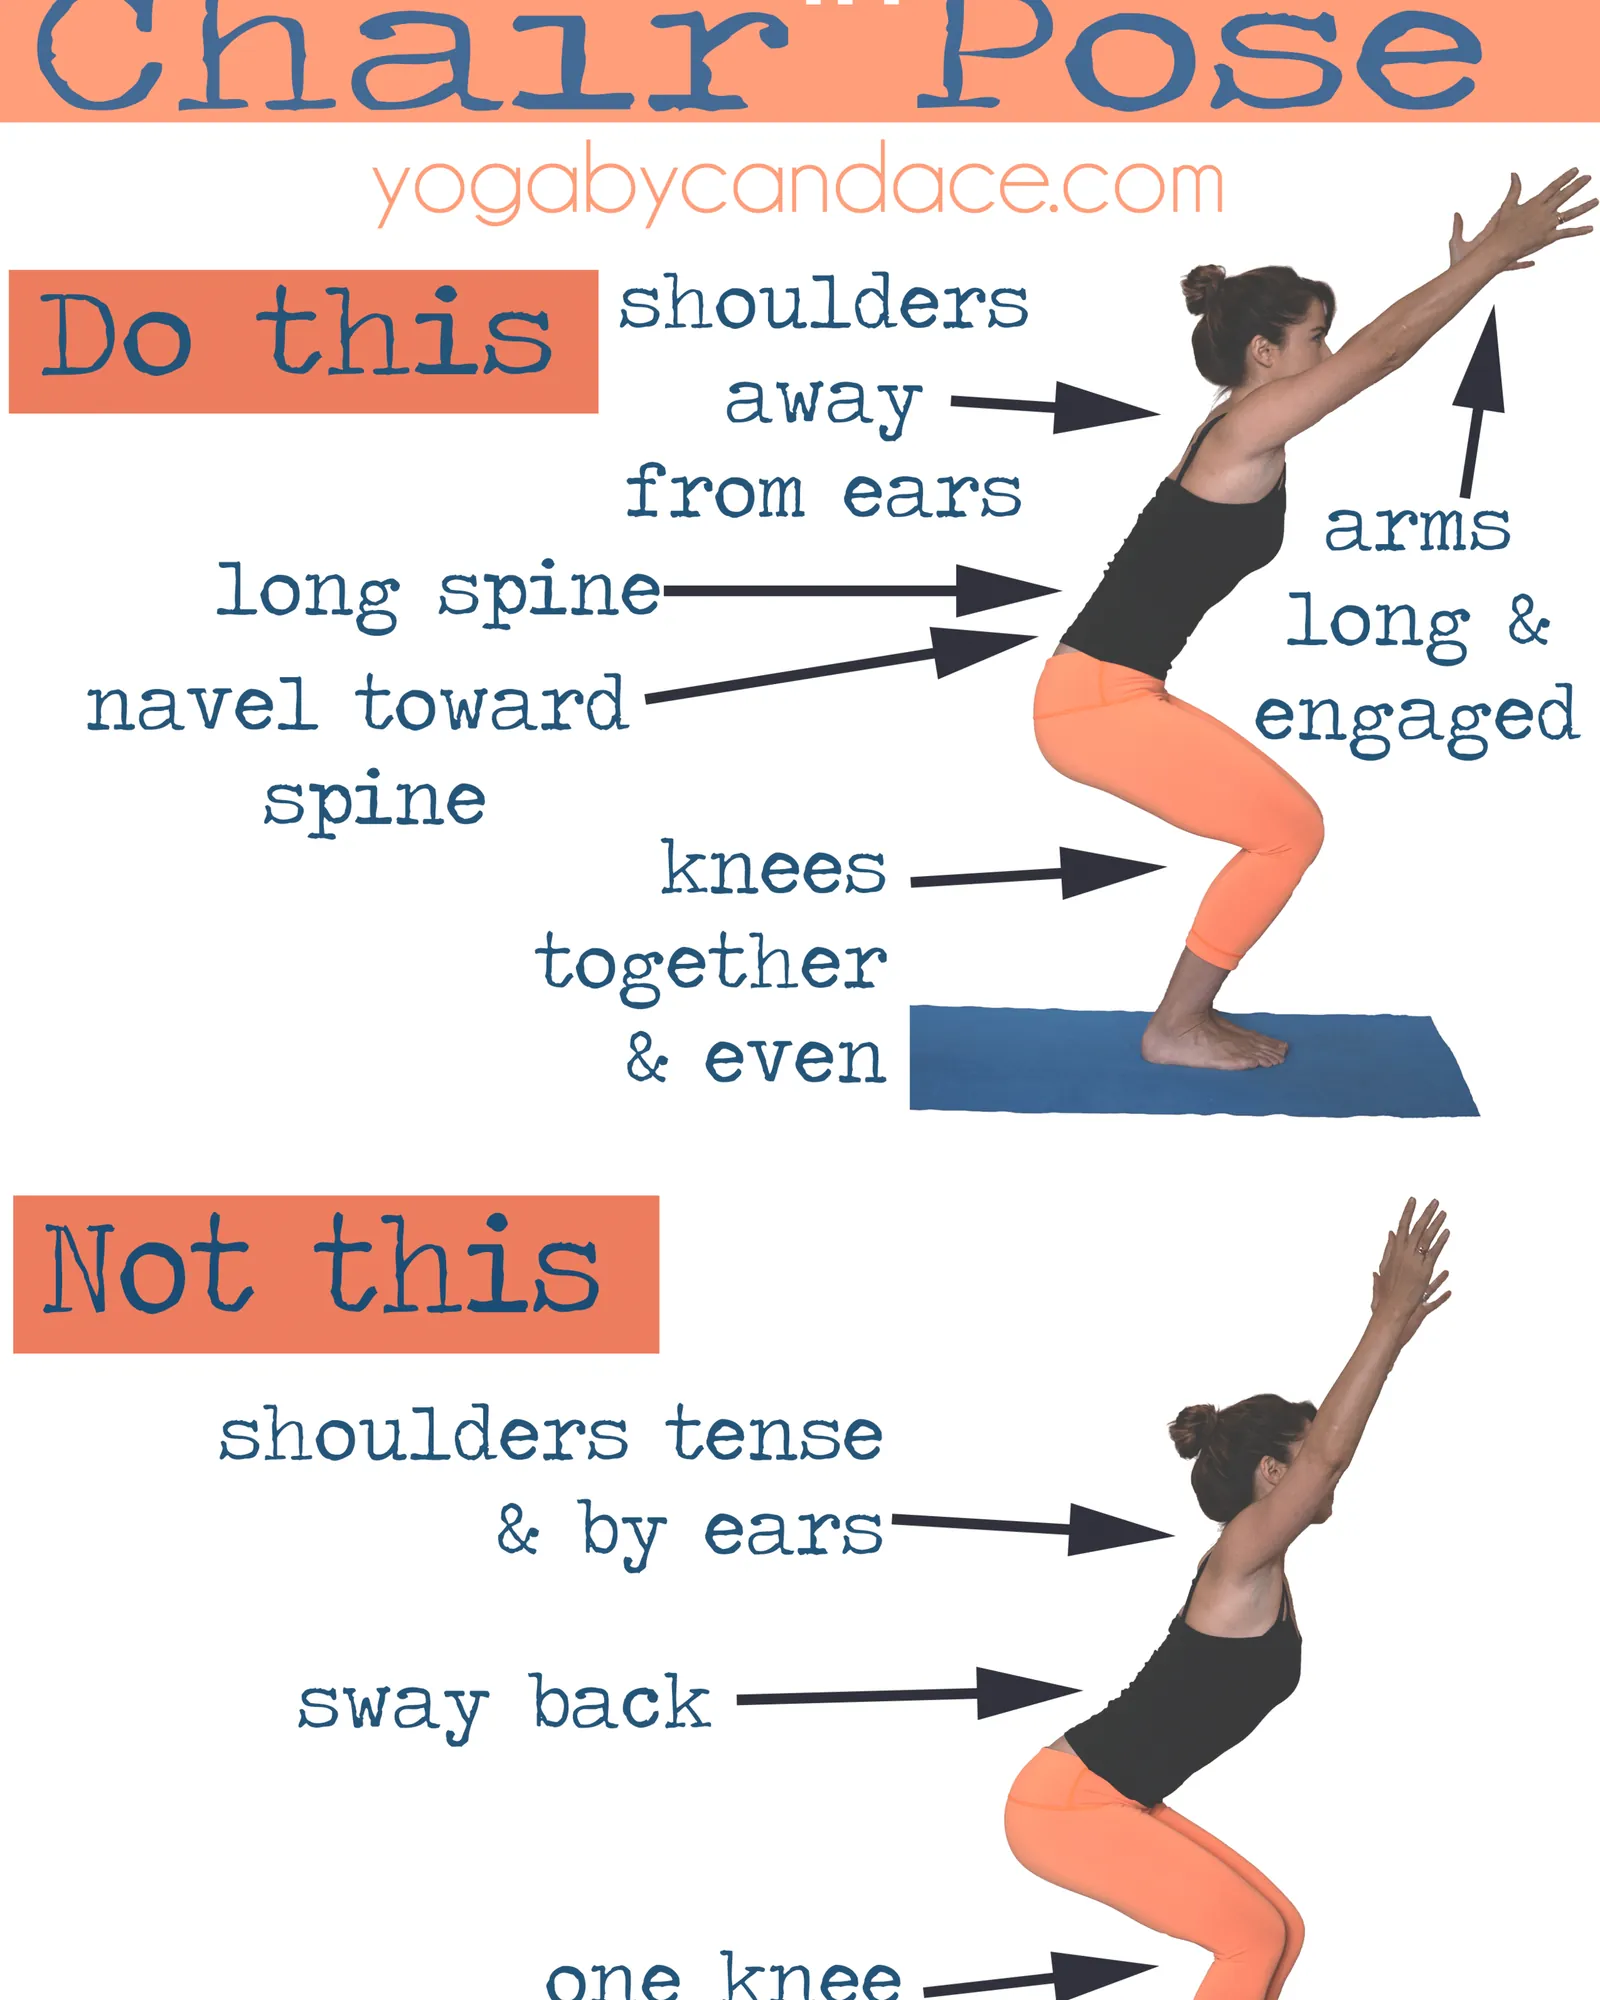
Standing near the chair
Use the chair as a prop by leaning your hand on the backrest. This adds height to your frame and provides a natural anchor for your body.
Reclining with support
Lean back slightly while keeping your core engaged. This works best in chairs with firm cushions that support your lower back without forcing a slouch.
Side-profile sitting
Turn your chair sideways to the camera. This emphasizes your silhouette and creates a sharp, editorial look that works well for fashion or professional headshots.
Frequently asked questions
How long should I hold a pose?
Hold a pose for 3 to 5 seconds to ensure the camera captures a sharp image without motion blur, but release it immediately if you feel muscle strain.
Why do my legs look short in photos?
Your legs look short because you’re sitting too far back; move to the edge of the seat and extend one leg toward the camera to create length.
Is it safe to cross my legs while posing?
Yes, it’s safe, but cross your ankles instead of your knees to keep your circulation flowing and your leg muscles looking relaxed rather than tight.
What happens if I slouch in the chair?
Slouching creates unwanted shadows under your chin and makes your torso appear shorter; keep your chest lifted to maintain a flattering, alert posture.
How do I stop my hands from looking awkward?
Keep your hands soft by curving your fingers slightly, as stiff, flat hands often look unnatural and tense in photographs.
Conclusion
Experimenting with these adjustments will soon feel like second nature. Once you’re comfortable, try practicing in front of a mirror to see which angles highlight your best features. You’ll find that a little confidence goes a long way, so don’t be afraid to show off your new, relaxed style in your next photo.