
You create flattering lines by shifting your weight forward and keeping your posture upright while sitting on a chair. The look changes based on the height of the seat, the type of clothing you wear, and the specific mood you want to capture in the image.
Who should try sitting in a chair
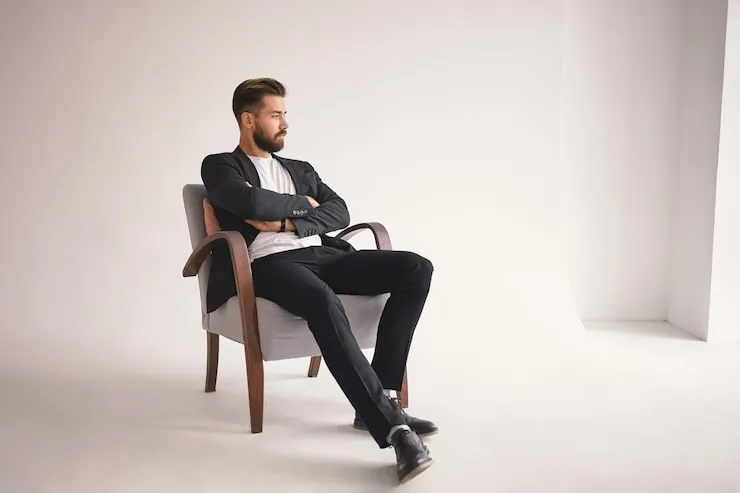
This guide is for people who want to look confident and natural in professional headshots, casual portraits, or social media photography. It serves the person who feels awkward or stiff when placed in front of a camera and needs clear, repeatable physical cues to fix their body language. If you’re using a high stool or a deep lounge chair, your center of gravity shifts, requiring you to adjust your lean accordingly.
Key factors for better photos
Your look depends on your hip angle, foot placement, and distance from the seat back. Sitting against the backrest curves your spine and compresses your stomach. Sit on the front half of the seat to engage your back muscles and lengthen your spine.
- Weight distribution: Keeping your weight forward prevents slouching and creates a more alert, engaging expression.
- Leg placement: Crossing your legs or angling them to the side avoids the “stuck” look of feet planted flat and square to the lens.
- Camera height: The camera should be at eye level or slightly above to prevent unflattering chin angles, as noted by the Cornell University Ergonomics Web regarding neutral body alignment.
Steps for a professional pose
- Sit on the front third of the chair to keep your back straight and your shoulders away from the chair back.
- Place one foot slightly in front of the other to create a diagonal line that adds depth to your legs.
- Shift your weight to one hip to break the symmetry of your torso and create a soft, natural curve.
- Rest your hands on your thighs or let them hang loosely to avoid tension in your neck and shoulders.
- Angle your knees toward the side of the frame rather than pointing them directly at the camera to slim your profile.
- Keep your chin level or tilted slightly down to define your jawline and engage your eyes with the lens.
- Check that your shoulders are relaxed and not hunched toward your ears before the shutter clicks.
If your fingers are splayed or tight, shake them out to reset your posture.
Variations at a glance
| Situation | What to do | What it takes | What to watch |
|---|---|---|---|
| Formal portrait | Sit tall, hands folded | High effort | Chin level |
| Casual photo | Lean forward, smile | Low effort | Relaxed shoulders |
| Small chair | Sit sideways, angle legs | Medium effort | Knee height |
| Deep sofa | Use a pillow | Medium effort | Spine curve |
| High stool | Rest feet on rung | High effort | Balance |
Details that separate results
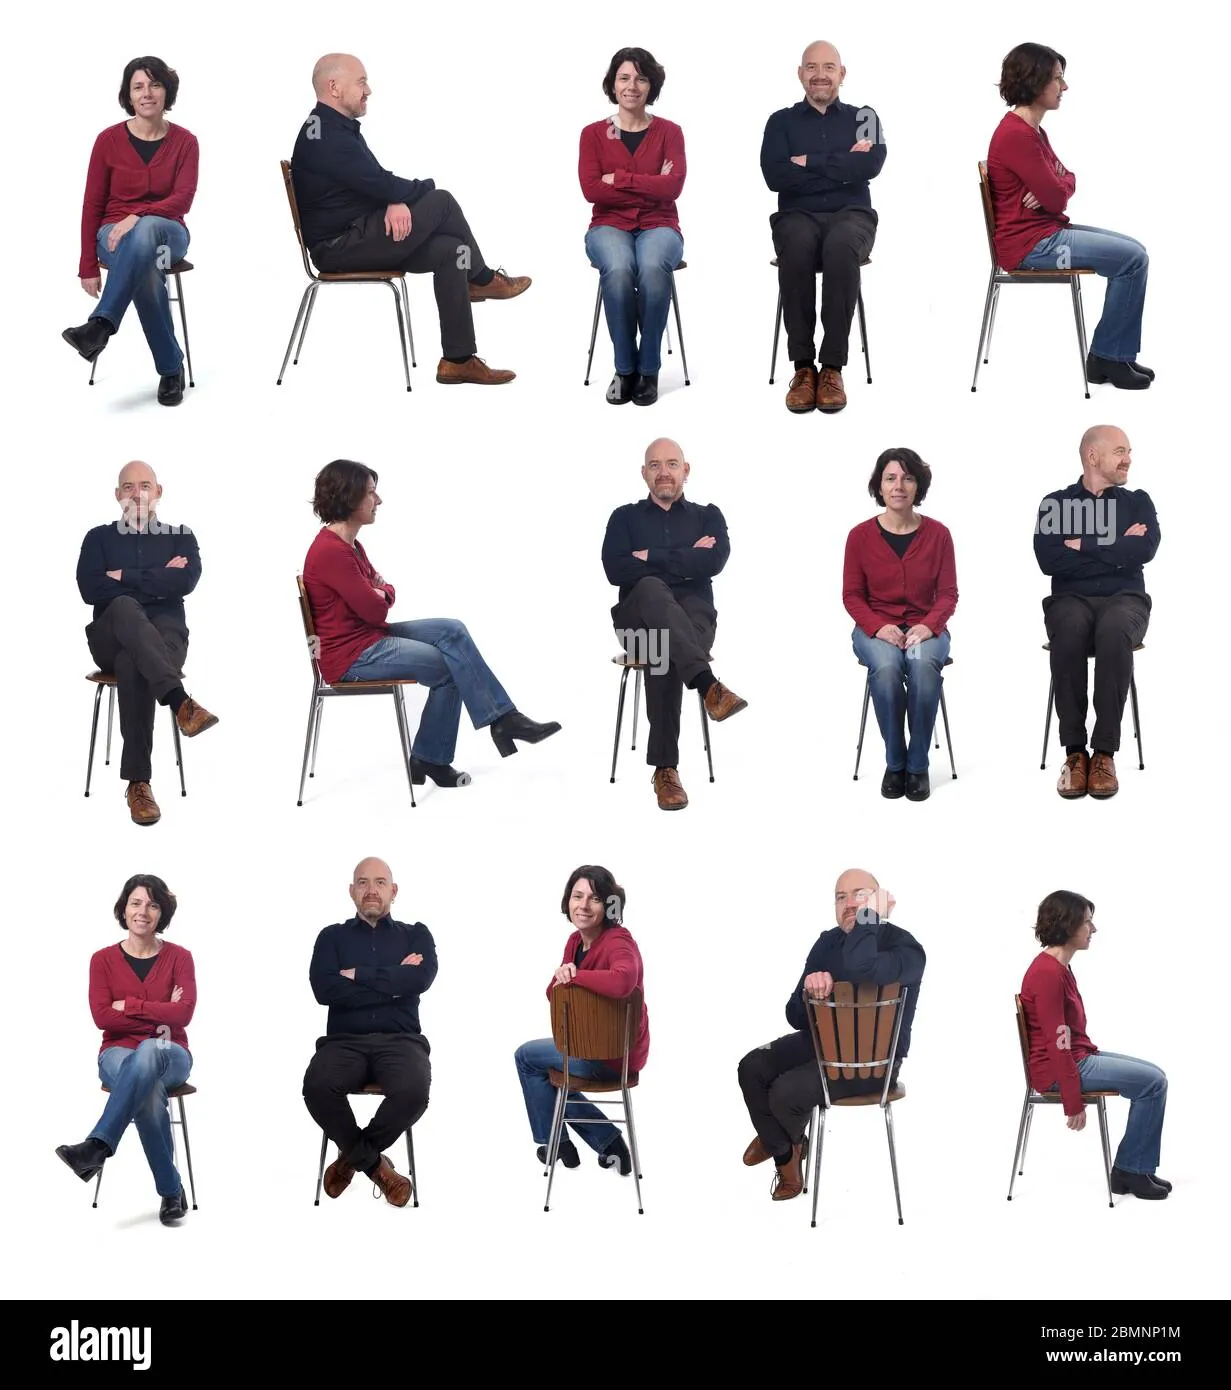
Preparing your body
Check your posture in a mirror before the session. Pulling shoulder blades together opens the chest and elongates the neck. Ignoring your core leads to a collapsed midsection.
Working with the frame
The camera captures the closest objects as largest. Angle your knees to keep the torso as the focal point. Pointing feet toward the camera distorts leg size.
Troubleshooting common issues
| What you notice | What it usually means | What to do first | How to stop it |
|---|---|---|---|
| Slouching | Core is tired | Push weight forward | Engage abs |
| Double chin | Chin tilted up | Lower your chin | Level your eyes |
| Stiff hands | Holding tension | Shake out arms | Soften fingers |
| Bulky clothes | Sitting too deep | Sit on edge | Smooth fabric |
| Awkward knees | Pointed at lens | Turn body side | Angle legs |
Guidelines for better posture
The Occupational Safety and Health Administration provides guidance on neutral body positions that prevent strain during long periods of sitting. A professional photographer can adjust the lighting and camera angle to accommodate your physical needs without requiring you to sit in a way that causes pain.
Real costs of the pose
The primary cost here is physical effort, as holding a seated pose with good posture requires more muscle engagement than sitting for relaxation. You can lower the effort by using a chair with a backrest that supports your lumbar region, but you must still sit forward to avoid the “slumped” look.
Maintaining the look
After you finish the shoot, check your photos to see which angles worked best for your specific body type. You don’t need to store anything, but keeping a mental note of your “good side” helps you prepare for future sessions.
When this is the wrong approach
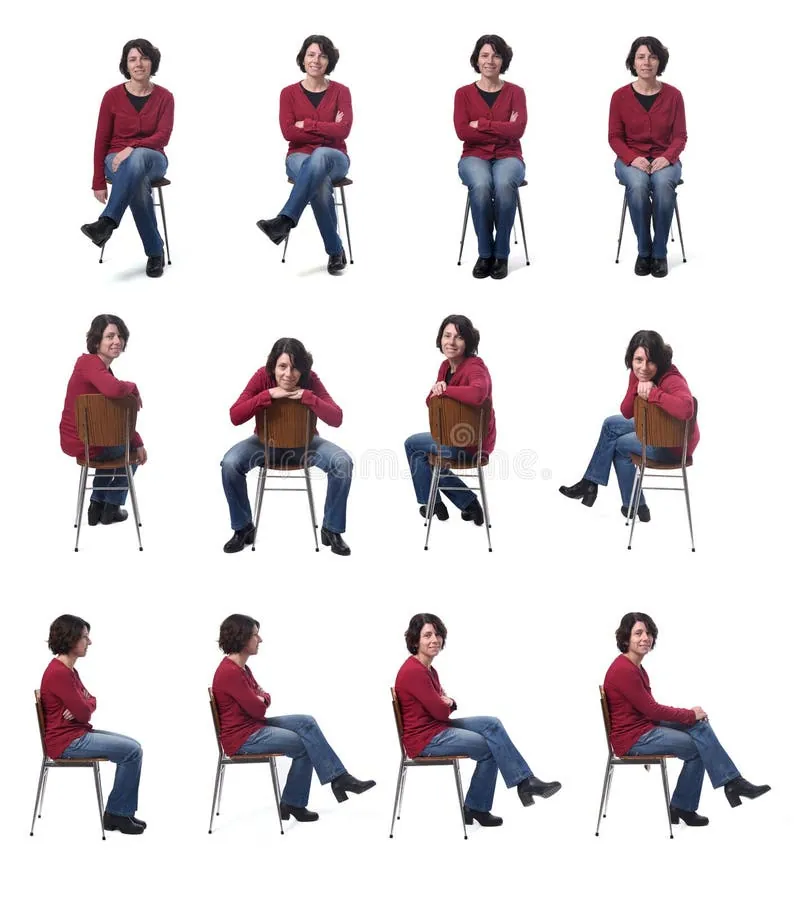
If you’re sitting in a chair that’s too low for your height, your knees will be higher than your hips, which creates an unflattering bulk around the midsection. In this case, use a different chair or place a firm cushion on the seat to raise your hips above your knees.
Frequently asked questions
Can I cross my legs while sitting?
Crossing your legs is a great way to add structure, but cross them at the ankles to keep your legs looking long and prevent the thigh from looking flattened against the seat.
How long should I hold a pose?
Hold your pose for 5 to 10 seconds while the photographer captures several frames, then relax your muscles completely to avoid looking stiff or unnatural in the final selection of images.
Is it safe to lean back?
Leaning back is safe, but it often causes your spine to curve and your shoulders to round, which can make you look smaller and less confident in a professional headshot.
What happens if I slouch?
Slouching creates horizontal lines across your midsection that make clothing bunch up and can make you appear shorter or heavier than you’re in the final image, regardless of your weight.
Does it matter which way I face?
Facing slightly to the side is better because it creates a more dynamic, three-dimensional look compared to facing the camera head-on, which can make your torso appear wider and flatter.
How do I stop my hands from looking stiff?
Softening your hands is best achieved by curling your fingers naturally or resting them on your lap, as this removes the tension that travels up your arms into your shoulders.
Find a chair that keeps your hips higher than your knees. Light core engagement signals good form. If you feel sharp pain, stop immediately.
Conclusion
Don’t be afraid to experiment with these adjustments in front of a mirror before your next shoot. It’s all about finding the angles that make you feel most confident and relaxed. Once you’ve practiced a few variations, you’ll be ready to capture those perfect, effortless shots every single time.